Understanding Arrow Materials
Building your own arrows at home allows you to customize length, weight, and fletching to match your specific shooting style. The process involves selecting the right shaft material, cutting it to your draw length, and attaching the vanes or feathers. Whether practicing in the backyard or planning to visit an indoor range, shooting a properly tuned arrow significantly improves your overall accuracy.
Carbon shafts are typically the most popular choice for modern archers because they are highly durable and return to their original straightness after impact. They are lightweight, which usually translates to a faster flight path. Aluminum shafts offer tighter tolerances and are easier to find in highly specific spine weights. They bend upon hard impacts, but many target shooters still prefer their consistent weight.
Traditional archers often prefer wooden shafts, which provide a classic feel and are required in certain traditional competitions. Wood requires more maintenance since it can warp with humidity changes. Selecting the right material largely depends on your bow type and whether you intend to shoot paper targets or take your gear to a 3D course where durability is tested against rigid foam.
Measuring and Cutting Shafts Safely
Cutting arrows at home requires specific tools to ensure a perfectly square edge. A dedicated high-speed arrow saw with an abrasive blade is typically the only recommended tool for carbon and aluminum shafts. Using pipe cutters or standard workshop saws often leads to splintered carbon fibers or crushed aluminum walls, which compromises arrow integrity and creates a safety hazard when fired.
To determine the correct cut length, measure your draw length and add an inch or two for clearance past the arrow rest. The exact length depends on your specific bow setup. It is usually best to cut shafts outdoors or in a well-ventilated garage, as cutting carbon creates fine dust that should not be inhaled. Wearing safety glasses and a dust mask is highly recommended.
Once the shaft is cut, the end must be squared off to ensure the insert sits flush. A squaring tool removes microscopic burrs left by the saw blade. If the insert does not sit flush, the broadhead will not align with the shaft, leading to erratic flight. Squaring each end properly separates a basic build from a highly accurate custom arrow.
Preparing the Surface for Fletching
Before attaching vanes or feathers, the rear section of the arrow shaft must be thoroughly cleaned. Even brand-new shafts have a thin layer of manufacturing dust that prevents adhesive from bonding properly. Denatured alcohol is typically used to remove oils and dirt. Allow the shafts to air dry completely before gluing, as any leftover moisture will weaken the final bond.
Feathers have historically been used on arrows because their natural texture creates drag, stabilizing the shaft quickly in flight. They compress easily, making them ideal for traditional bows where the arrow slides off the shelf. Modern plastic vanes are more weather-resistant, generally preferred by compound shooters using drop-away rests. Choosing between them depends on your bow style and typical weather conditions.
With the shafts clean, install the nocks. Most modern carbon and aluminum shafts use press-fit nocks that do not require adhesive. Simply press them into the back of the shaft and rotate them so the index bump aligns with your fletching orientation. If you need help with nock fitment, consulting technicians at a pro shop can save you guesswork.
Using a Fletching Jig and Adhesive
A fletching jig is a mechanical device holding the arrow shaft and fletching in precise alignment while the adhesive cures. Jigs can typically be adjusted to apply fletching straight, with an offset, or in a helical pattern. A helical twist induces spin on the arrow, stabilizing flight over longer distances. The amount of twist depends on the clearance your arrow rest allows.
Applying the right amount of adhesive is crucial for a strong bond. Cyanoacrylate-based glues are generally the standard for carbon and aluminum shafts because they cure quickly and hold up well to repeated impacts. You only need a series of small dots or a very thin bead along the vane base. Using too much glue adds unnecessary weight to the rear of the arrow.
Once the glue is applied, press the clamp firmly against the shaft and wait for the adhesive to set. Curing time varies depending on the specific formula, but typically takes a few minutes per vane. Rotate the jig to the next position and repeat until all fletchings are attached. Taking your time ensures every vane is spaced evenly and secured tightly.
Inspecting and Testing Custom Arrows
After all arrows are fletched, let them sit so the adhesive can fully cure before shooting. Rushing to the range too soon can result in vanes tearing off upon impact. Once cured, apply a tiny drop of glue to the front and rear tips of each vane. This extra layer of protection helps prevent the fletching from lifting upon heavy target impacts.
Inspect each arrow carefully by gently pulling on the vanes to ensure the bond is solid. Flex the carbon shafts slightly to listen for cracking, which indicates a hidden structural flaw. Safety should always be your top priority when handling new equipment. If you notice loose inserts, twisted nocks, or poor adhesion, fix those issues before loading the arrow.
The final step is testing your new arrows. If you lack outdoor space, visiting local facilities is a great option. For instance, you can explore Archery Ranges in California, or you can find Archery Ranges in Wisconsin which has 130 listings in our directory. Taking practice shots confirms your custom arrows are flying true and grouping tightly before your next outing.
Published 2026-09-20 · reviewed with each rebuild, last September 2026.
Find archery ranges near you
The directory lists 1,976 archery ranges by state and city — pick your state or use the “Near me” button in the header.
More guides
-
 Money
MoneyA Guide to Archery Range Fees and Lesson Costs
-
 Buying
Choosing Broadheads and Aiming for the Perfect Shot
-
 Service
DIY Bow Maintenance, Tuning, and Basic Repairs
-
 Buying
Choosing Sights and Rangefinders for Better Accuracy
-
 Buying
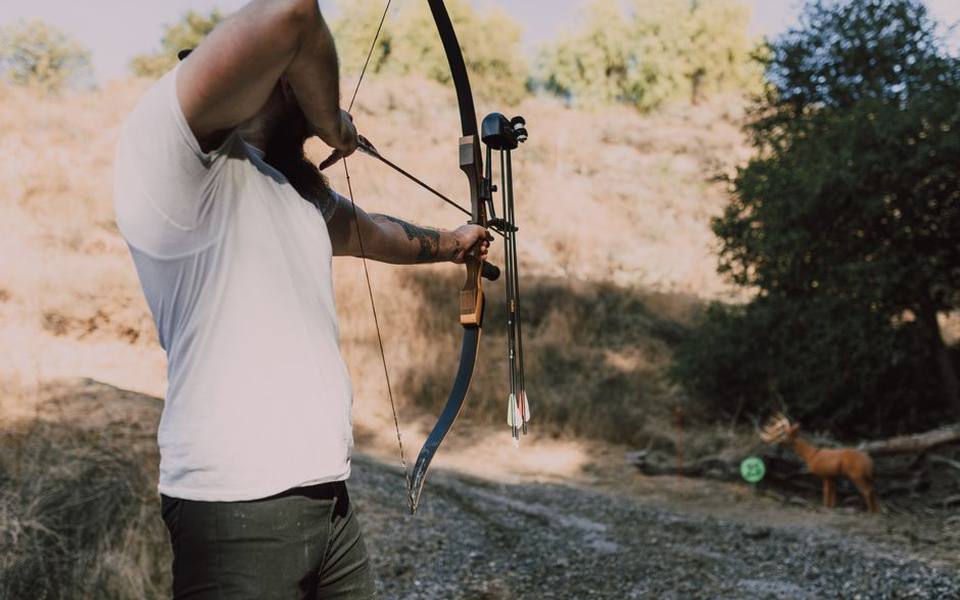
Essential Gear for Target Practice and Bowhunting Preparation
-
 Buying
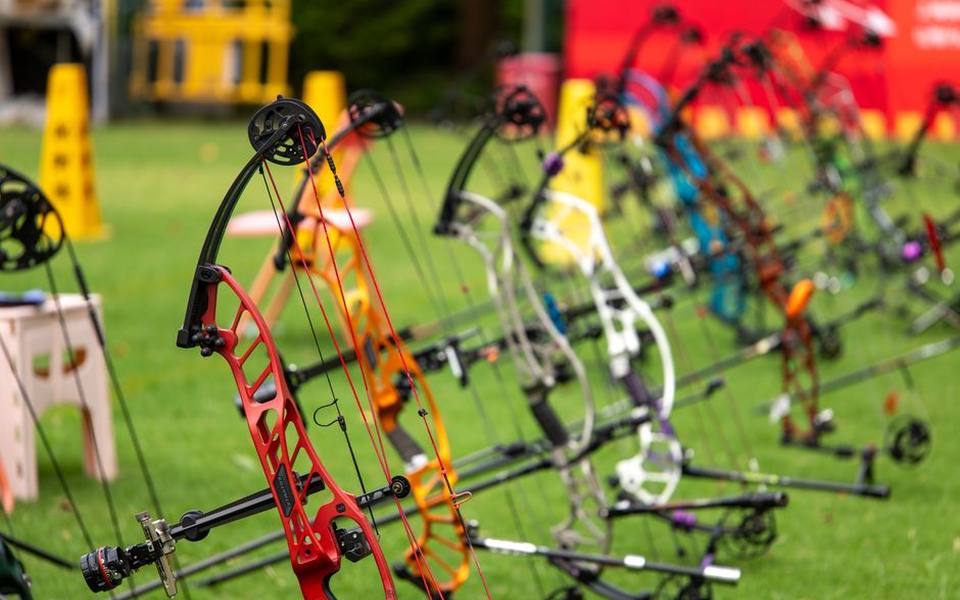
Understanding Bow Purchase and Restringing Costs
-
 Safety
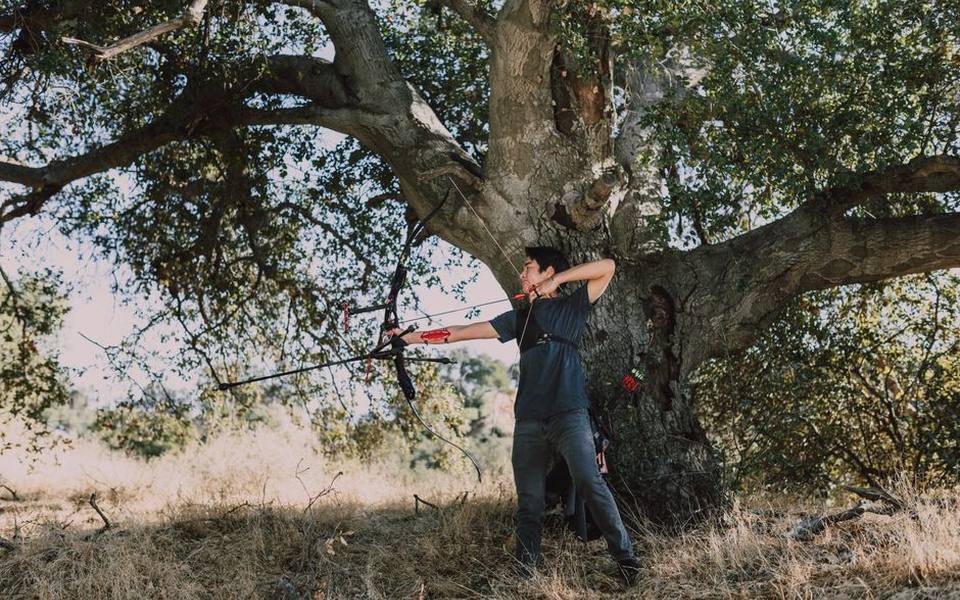
Bowhunting Shot Placement Guide for Deer and Turkey
-
 Buying
Complete Guide to Choosing the Best Crossbow Broadheads
-
 Money
MoneyHow Much Does Archery Cost? A Realistic Beginner Budget
-
 Buying
Choosing the Right Arrows and Field Points: Shaft Materials, Weights, and Tuning
-
 Buying
Best Archery Sets for Beginners: Complete Buyer Guide and Starter Tips