Understanding Pin Configurations
Choosing the right aiming tools comes down to matching the configuration to your environment and ensuring the distance reader accurately calculates angles. Multi-pin setups work well for quick, unpredictable shots, while single-pin sliders offer precise adjustment for longer distances. Angle compensation is the most critical feature to look for in any distance measuring tool, especially when shooting from elevated positions like a tree stand.
For those venturing into dense woods, a fixed multi-pin setup is typically the most reliable choice. This design allows you to draw your bow and instantly select the appropriate distance without taking your hand off the grip to make a physical adjustment. The downside is that looking through multiple glowing fibers can clutter your view, which sometimes makes it harder to focus entirely on the exact spot you want your arrow to hit.
Single-pin configurations provide a much cleaner picture of your target area. Because there is only one aiming reference point in the housing, your eye naturally centers it without distractions. However, this system requires you to manually move the dial to the exact yardage before you start your draw cycle. If the animal changes distance quickly, you have to mentally compensate by holding your aim slightly higher or lower than usual.
Pin size and brightness also play a significant role in your overall accuracy in the field. Most setups use fibers ranging in different diameters, with smaller sizes covering less of the target when shooting at longer distances. Brighter fibers gather more ambient light, which is absolutely crucial during the early morning and late evening. You will want to find a balance between a fiber that is small enough for precision but bright enough for low-light visibility.
Finding the Right Distance Features
When evaluating distance measuring tools, you need to look for features specifically tailored to bow hunting rather than golf or basic rifle shooting. The most important function is angle compensation, which calculates the true horizontal distance to the target. Because arrows travel in a noticeable arc, a severe downhill or uphill angle changes the gravitational distance, making a standard line-of-sight measurement highly inaccurate for your shot placement.
Display type is another crucial factor that drastically affects usability in the field. Standard liquid crystal displays show black numbers, which can completely disappear against dark timber or shadowy brush just when you need to read them most. Devices with red light-emitting diode displays are generally much easier to read in all lighting conditions. You can typically adjust the brightness of these red displays so they do not overpower your vision when the sun goes down.
Magnification levels on these devices usually hover around six power, providing a good balance between zooming in on the target and maintaining a wide field of view. Too much magnification makes it difficult to find the animal quickly in the viewfinder, while too little makes it hard to pinpoint exactly what part of the shoulder you are ranging. Taking your device to a 3D course is an excellent way to practice ranging targets quickly under realistic conditions.
Balancing Weight and Durability
Adding accessories to your bow will noticeably change its physical weight and overall balance. High-quality aiming housings are usually machined from aircraft-grade aluminum, which provides excellent durability against bumps but adds mass to the front of the bow. If you prefer a lighter setup for long hikes in steep terrain, you might look into carbon composite models, though they often come at a different price point and handle impacts slightly differently than metal.
The way this added weight is distributed affects how your bow holds steady on the target. A heavy housing extended far out in front of the riser will naturally magnify any torque in your grip, making the bow feel unsteady during the aiming process. Many archers find that pulling the housing closer to the riser improves the balance and makes the entire setup feel significantly more stable during the draw cycle and the final hold.
Durability in harsh weather conditions is non-negotiable for serious outdoor use. Your distance measuring device needs to be fully waterproof, not just water-resistant, as you will inevitably be caught in unexpected rain showers. The fiber optics on your bow should be fully enclosed in a protective ring or clear tube to prevent them from snagging on branches. Reliable gear is essential if you want your equipment to survive multiple seasons in the woods.
Adjustability and Micro-Tuning
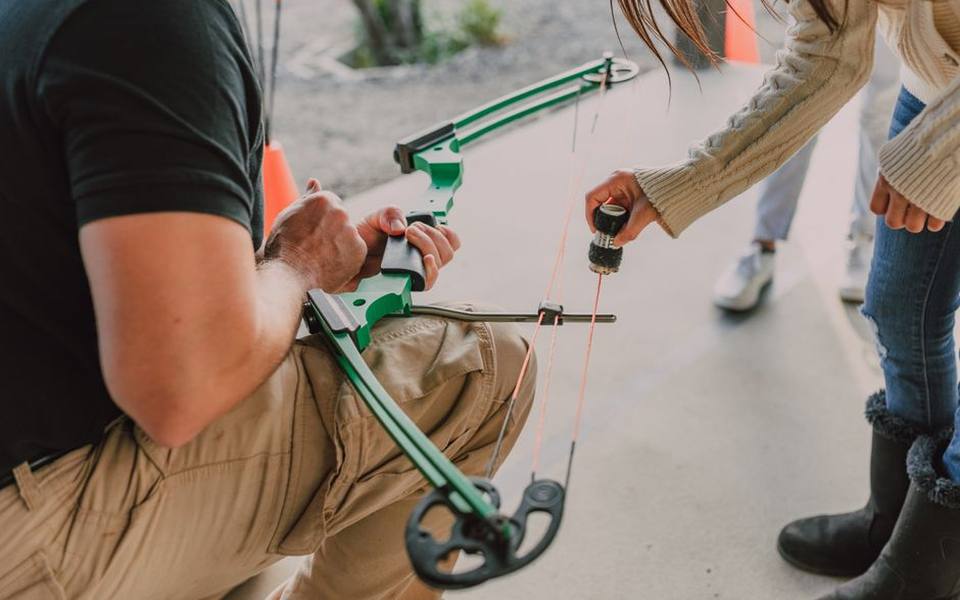
Once you have selected your equipment, the ease of adjustment becomes a major factor in your long-term satisfaction. Basic models require allen wrenches to loosen screws and slide the housing for windage and elevation changes. In contrast, micro-adjust models feature small dials that click securely into place, allowing you to move the impact point by tiny fractions without worrying about the entire housing slipping out of place while the lockdown screws are loose.
Advanced aiming housings also offer vital second and third axis adjustments for uneven terrain. The second axis ensures your internal bubble level is perfectly parallel to the vertical wire, preventing you from unknowingly canting the bow on flat ground. The third axis adjusts the housing to swing like a door, which is absolutely critical for maintaining left and right accuracy when shooting at severe uphill or downhill angles common in hunting scenarios.
Setting up these specific axes properly can be a complex process that requires specialized leveling tools and a solid understanding of bow mechanics. If you are not completely comfortable making these precision tweaks at home, taking your setup to a pro shop can save you a tremendous amount of frustration. A technician can ensure everything is perfectly plumb to your natural grip and stance.
Testing Your Setup Before Heading Out
Before heading into the field, you need to develop a seamless, repeatable routine using both pieces of equipment together. The standard flow involves spotting the target, using your device to confirm the exact yardage, setting your dial or selecting the right pin, and then smoothly drawing the bow. Practicing this exact sequence repeatedly helps build solid muscle memory so you do not have to think about the individual steps when a high-pressure situation arises.
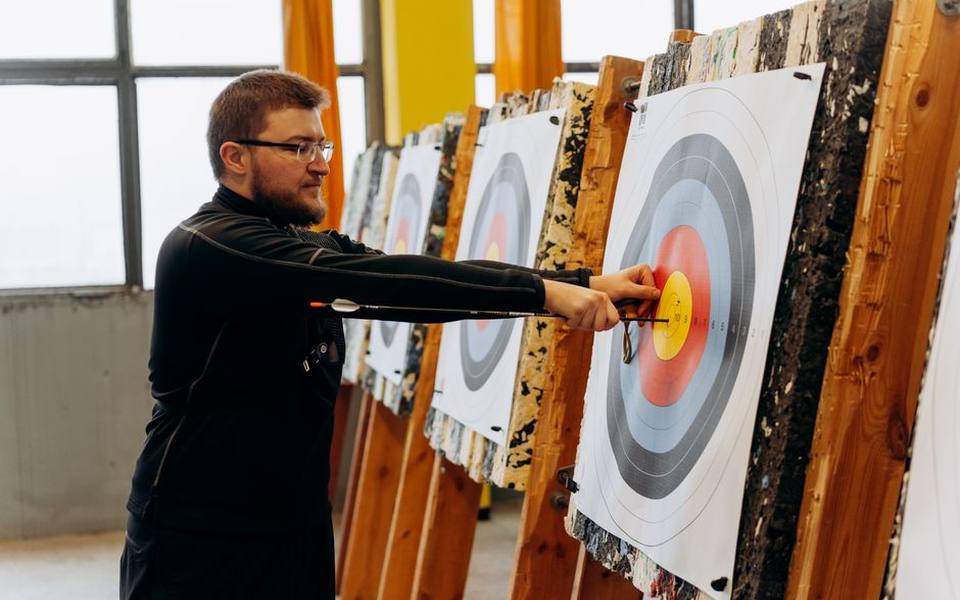
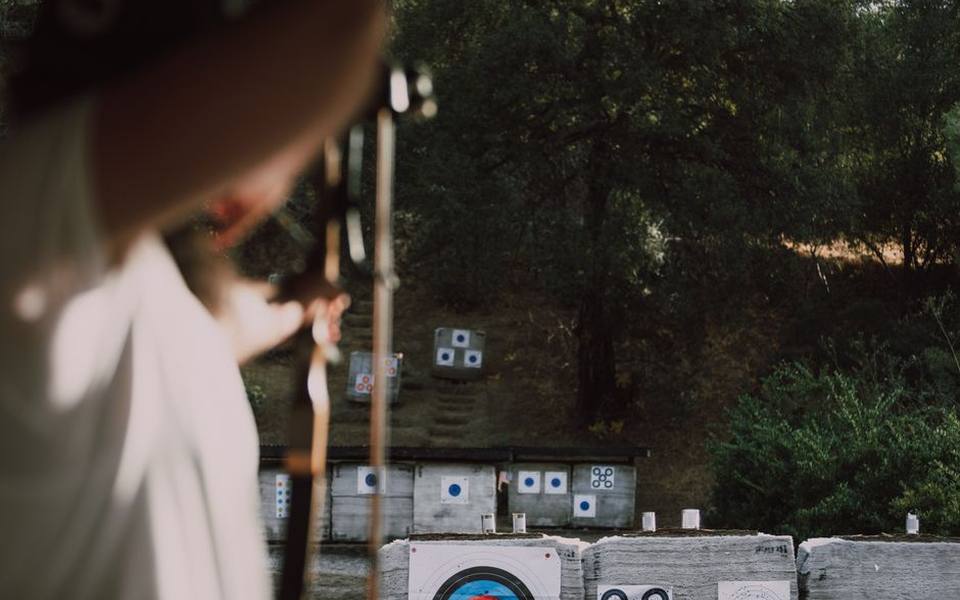
It is always a good idea to start your initial sighting-in process at an indoor range. Shooting inside eliminates wind and variable lighting from the equation, allowing you to focus entirely on getting your marks perfectly accurate on paper. Once you have established a solid baseline and trust your settings, you can confidently move outdoors to see how the equipment performs at extended distances and in natural weather elements.
Testing your gear in low-light conditions is the final critical step in validating your choices. Step outside during the last thirty minutes of daylight and verify that you can clearly read the numbers on your distance device and distinctly see the colored fibers on your bow. If the fibers blur together or the display washes out the target, you may need to adjust the brightness settings or consider adding a dedicated light to the housing.
Making the Final Decision
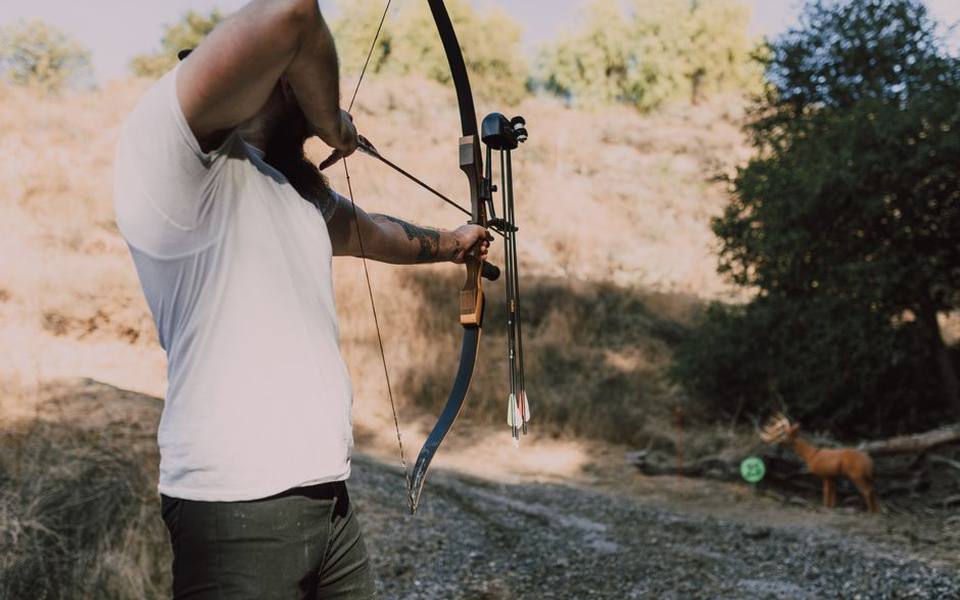
Your final selection should heavily depend on your primary style of shooting and the environments you frequent. If you spend most of your time sitting in a stationary position waiting for game to walk by, a multi-pin setup paired with a basic angle-compensating device will serve you perfectly. Those who spot and stalk across open terrain usually benefit much more from the dialed precision of a single-pin slider and a high-end distance reader.
It is important to remember that these specific accessories are long-term investments that can often be transferred to your next bow when you upgrade. While it might be tempting to save money on basic plastic models initially, investing in durable materials and reliable micro-adjustments will typically save you money over time. High-quality optics and machined aluminum housings hold their value and maintain their strict performance for years of heavy use.
If you are relatively new to the sport, starting with a simpler setup is usually the smartest approach to avoid being overwhelmed by technology. You can always take lessons or classes for beginners to build your fundamental shooting skills before dropping serious money on complex, micro-adjustable gear. As your consistency naturally improves over time, you will recognize exactly which advanced features will actually benefit your specific shooting style.
Published 2026-09-20 · reviewed with each rebuild, last September 2026.
Find archery ranges near you
The directory lists 1,976 archery ranges by state and city — pick your state or use the “Near me” button in the header.
More guides
-
 Money
MoneyA Guide to Archery Range Fees and Lesson Costs
-
 Buying
Choosing Broadheads and Aiming for the Perfect Shot
-
 Service
DIY Bow Maintenance, Tuning, and Basic Repairs
-
 Buying
Essential Gear for Target Practice and Bowhunting Preparation
-
 Buying
Understanding Bow Purchase and Restringing Costs
-
 Owning
Arrow Selection, Cutting, and Fletching at Home
-
 Safety
Bowhunting Shot Placement Guide for Deer and Turkey
-
 Buying
Complete Guide to Choosing the Best Crossbow Broadheads
-
 Money
MoneyHow Much Does Archery Cost? A Realistic Beginner Budget
-
 Buying
Choosing the Right Arrows and Field Points: Shaft Materials, Weights, and Tuning
-
 Buying
Best Archery Sets for Beginners: Complete Buyer Guide and Starter Tips