Understanding Big Game Anatomy for Clean Pass-Throughs
White-tailed deer and other big game require precise arrow placement into the heart-lung cavity to ensure a fast, humane harvest. The ideal aiming point on a broadside deer is roughly one-third of the way up from the bottom of the chest, slightly behind the front leg line. This location minimizes the risk of hitting heavy shoulder bones while maximizing damage to the lungs and major blood vessels. Understanding how an arrow travels through tissue helps bowhunters select shots that create rapid bleeding and quick recoveries.
Quartering angles change your target area significantly. On a quartering-away animal, you should aim for the opposite shoulder, angling the shaft through the back of the lungs and forward into the chest cavity. Quartering-toward shots are far more risky because the heavy shoulder blade shields the vital organs and presents a high probability of stopping penetration. Wait for the animal to turn or step forward to clear the front leg before releasing your draw.
Elevated shooting positions, such as tree stands or elevated blinds, complicate the geometry of shot placement. Because the arrow travels downward, the entry point must be higher on the torso so the exit wound exits low through the chest cavity. A low exit hole is crucial for creating a heavy blood trail on the ground. Hunters who forget to adjust for steep trajectory often clip only the top of one lung, resulting in long tracking efforts.
Mapping the Vital Zone on Wild Turkeys
Wild turkeys present a much smaller anatomical target than deer, requiring distinct aiming strategies depending on posture and distance. A turkey's vital organs are roughly the size of a baseball, tucked inside a body wrapped in thick feathers that can absorb arrow momentum. Furthermore, turkeys constantly move, swivel, and change stance, making patience and timing essential for placing a lethal shot. Shot placement must account for bone structure and body orientation.
When a turkey is standing broadside, the primary target is the wing butt—the spot where the wing attaches to the body right above the leg. Striking this area breaks the wing joint, preventing flight, and drives the broadhead straight into the heart and lung cavity. If taking a shot at a bird strutting directly away, aim right at the base of the tail feathers. This shot breaks the spine and penetrates the main abdominal cavity instantly.
Head and neck shots are an increasingly popular choice when using specialized wide-cutting broadheads designed for turkeys. Aiming at the base of the neck where it meets the wattles provides a clear cut to the spinal column or major arteries. While this target area is tiny, it results in an immediate harvest or a complete miss, avoiding non-fatal body wounds. Taking introductory archery lessons can help bowhunters master the tight grouping needed for small targets.
Broadhead Selection and Setup Considerations
Arrow setup and broadhead choice play crucial roles in translating target accuracy into effective field performance. Fixed-blade broadheads offer deep penetration through heavy tissue and bone, making them a standard choice for big game encounters. Mechanical broadheads deploy wide blades upon impact, creating massive wound channels that work exceptionally well on light-boned game like turkeys and broadside deer when backed by sufficient kinetic energy.
Broadhead tuning is necessary to ensure your field points and hunting tips fly to the exact same point of impact. Micro-adjustments to the arrow rest or bow sight align the shaft's flight path, eliminating wind planing caused by broadhead blades. Consulting certified technicians at local Archery Pro Shops helps fine-tune your equipment setup, ensuring maximum energy transfer and flat arrow flight when you take a shot in the field.
Arrow weight and velocity must balance to create enough momentum for pass-through shots. Heavy arrows maintain momentum better at longer distances, helping broadheads punch through hide and ribs. Lighter setups may offer flatter trajectories at short ranges, but they can lose energy quickly when encountering heavy bone. Testing different arrow weights and tip configurations allows hunters to find the optimal combination for their draw length and draw weight.
Refining Marksmanship Under Realistic Field Conditions
Paper target practice on flat ground builds foundational form, but field conditions demand adaptability. Animal movement, wind, changing lighting conditions, and steep terrain affect sight pictures and shot execution. Transitioning from basic target archery to real-world hunting scenarios requires building muscle memory that holds up under adrenaline and unfamiliar shooting angles. Maintaining proper anchor points and form under pressure is essential for hitting vital zones consistently.
Shooting realistic animal silhouettes at varied, undisclosed distances simulates authentic field decisions. Walking through 3D Archery Courses allows archers to practice estimating distance, judging quartering angles, and aiming through narrow shooting lanes between trees. These courses teach hunters how to visualize the internal anatomical structure of game rather than relying on flat spot targets, significantly improving shot placement accuracy during hunting season.
Consistently practicing during the off-season keeps your muscles conditioned and your form repeatable. Utilizing Indoor Archery Ranges during cold winter months or rainy days ensures you do not lose shooting rhythm before fall arrives. Facilities in active hunting regions like Archery Ranges in Pennsylvania offer controlled environments to refine mechanics, check sight tape calibration, and practice delicate trigger control without variable weather interference.
Post-Shot Patience and Blood Tracking Protocol
What happens after the arrow leaves the bow is just as critical as the shot itself. Archers should remain motionless after releasing the string, watching the arrow flight and noting where the point impacts the animal. Pay close attention to the animal's physical reaction—a hard mule-kick typically indicates a lung hit, while a hunched back often suggests an abdominal shot. Listening for the sound of impact also provides hints about arrow performance.
Examining the arrow location and trailing blood helps determine how long to wait before beginning the tracking process. Bright red blood with small air bubbles signals a double-lung hit, which typically leads to a swift recovery within a short distance. Dark red blood suggests a liver strike, requiring a wait time of typically two to four hours. Greenish organic residue or watery fluid indicates a gut shot, meaning hunters should wait up to eight hours or overnight.
Rushing a blood trail too quickly can spook a wounded animal out of its bedding area, making recovery dramatically more difficult. In most situations, waiting quietly at the stand site for at least thirty minutes gives vital hits time to take full effect. Systematic tracking involves marking blood spots with bright tape and keeping eyes scanned ahead for the animal rather than staring solely at the ground.
Published 2026-09-20 · reviewed with each rebuild, last September 2026.
Find archery ranges near you
The directory lists 1,976 archery ranges by state and city — pick your state or use the “Near me” button in the header.
More guides
-
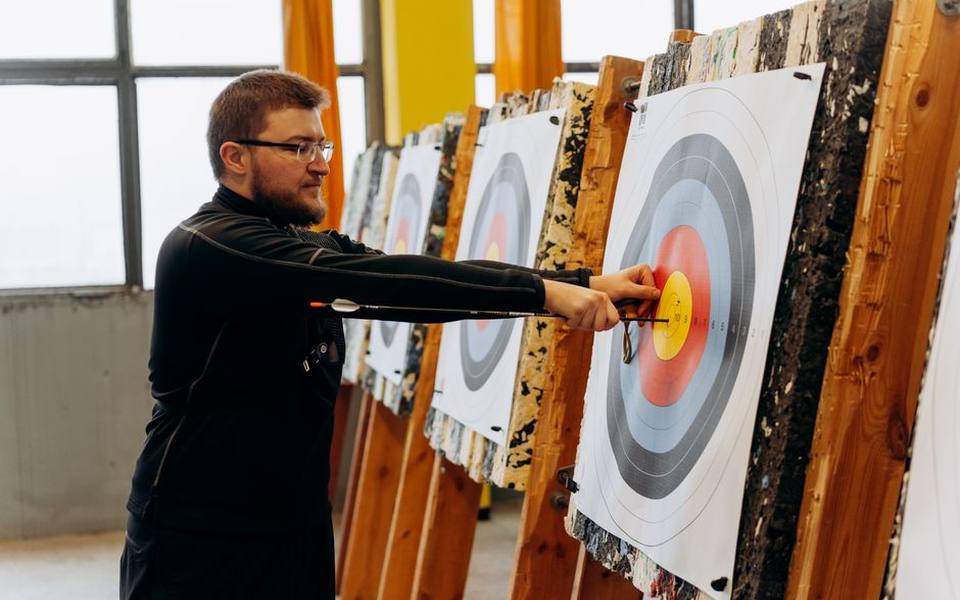 Money
MoneyA Guide to Archery Range Fees and Lesson Costs
-
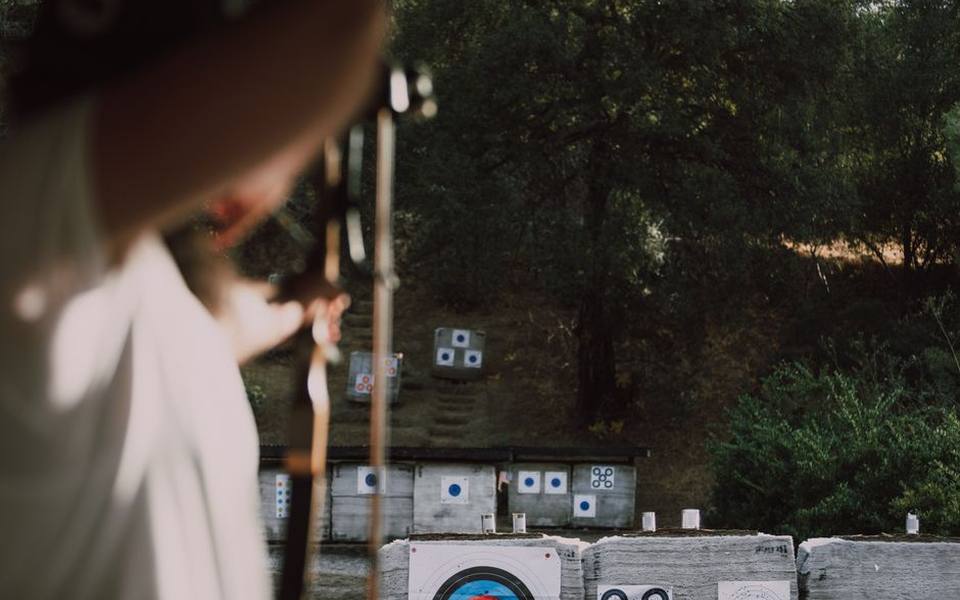 Buying
Choosing Broadheads and Aiming for the Perfect Shot
-
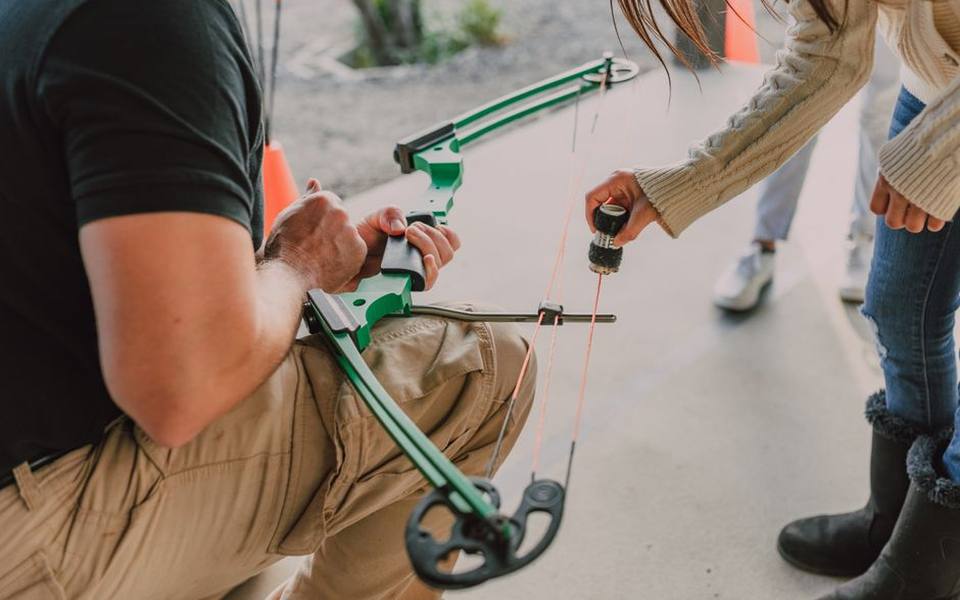 Service
DIY Bow Maintenance, Tuning, and Basic Repairs
-
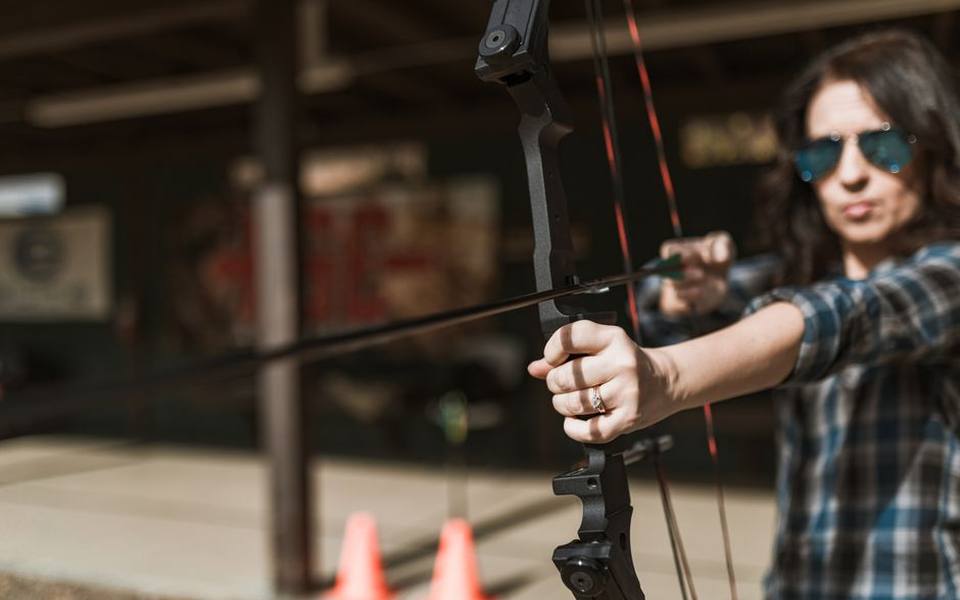 Buying
Choosing Sights and Rangefinders for Better Accuracy
-
 Buying
Essential Gear for Target Practice and Bowhunting Preparation
-
 Buying
Understanding Bow Purchase and Restringing Costs
-
 Owning
Arrow Selection, Cutting, and Fletching at Home
-
 Buying
Complete Guide to Choosing the Best Crossbow Broadheads
-
 Money
MoneyHow Much Does Archery Cost? A Realistic Beginner Budget
-
 Buying
Choosing the Right Arrows and Field Points: Shaft Materials, Weights, and Tuning
-
 Buying
Best Archery Sets for Beginners: Complete Buyer Guide and Starter Tips