Establishing the Foundation for a Proper Bow Setup
A well-tuned bow transforms shooting from an exercise in frustration into a repeatable, accurate process. Whether you shoot a modern compound bow or a traditional recurve, tuning is simply the craft of ensuring that an arrow leaves the string cleanly, traveling along the exact plane you intended without wobbling, fishtailing, or porpoising. When an arrow launches straight, it preserves maximum kinetic energy, flies flatter downrange, and groups tightly regardless of distance.
Before adjusting accessories, your bow must fit your body. Setting the proper draw length is critical because even an eighth of an inch of overextension can introduce facial pressure against the string, torque the riser through the grip, and produce erratic arrow flight that mimics mechanical tuning defects. Draw weight should allow you to pull straight back smoothly without contorting your shoulders or pointing the bow skyward, which is essential for consistent shooting form.
Your arrow selection must also match the bow parameters. Dynamic arrow spine—how much an arrow flexes when released—dictates how the shaft behaves out of the rest. An underspined arrow flexes excessively under string force, while an overspined arrow resists flex and can kick off the rest. Once your draw weight, draw length, and arrow spine are matched, you are ready to install components and dial in your baseline alignment.
Mounting and Calibrating a Modern Fall-Away Arrow Rest
Modern drop-away rests, including integrated options designed for modern riser dovetails or standard berger button mounts like those from popular manufacturers, have largely replaced older prong and shoot-through rests. A quality fall-away rest supports the arrow securely during the draw cycle and drop completely out of the way before the fletchings pass the shelf. This clearance eliminates fletching contact, which is the most frequent cause of unpredictable flyers downrange.
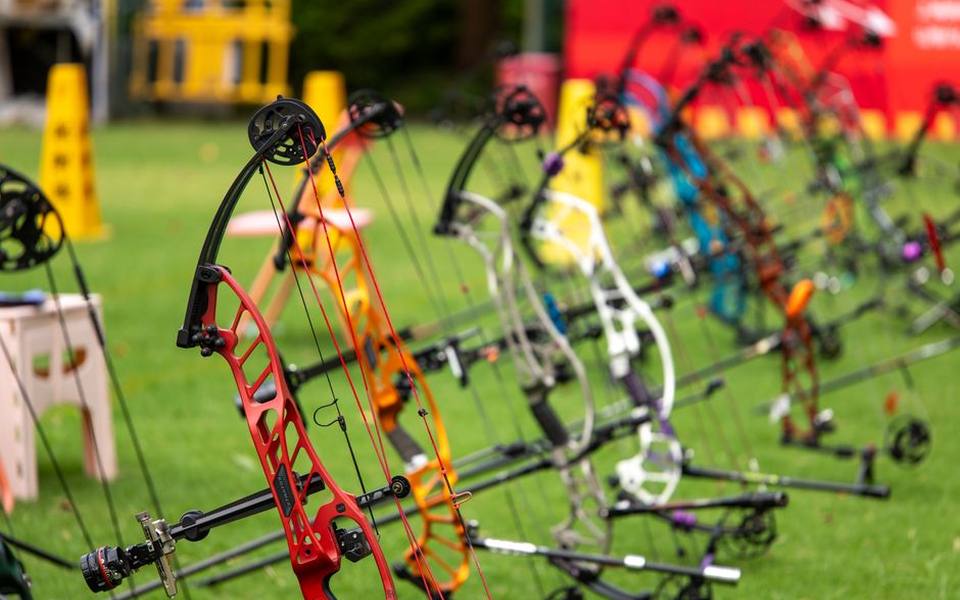
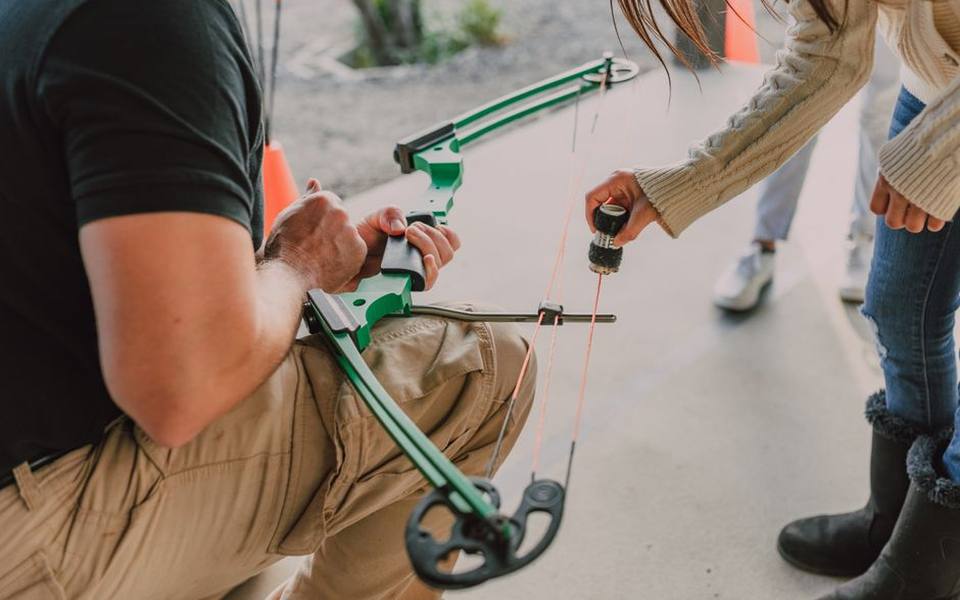
Start by bolting the rest housing loosely to the riser, aligning the horizontal mounting bracket with the berger hole. Level the bow in a vise and insert an arrow onto the nocking point. Adjust the rest height so the arrow shaft passes directly through the center of the berger hole, and verify that the shaft sits perfectly perpendicular to the string at a ninety-degree angle. Next, align the center shot by adjusting horizontal windage until the arrow shaft runs parallel to the riser stabilizer plane.
Connecting the timing cord requires careful attention whether your rest utilizes a downward cable attachment or a limb-driven cord. For cable-driven models commonly found on modern hunting setups, clamp or serve the activation cord into the downward-traveling buss cable roughly three to four inches below the rest. Draw the bow slowly on a draw board to ensure the launcher reaches its fully upright position during the final half-inch of the draw stroke. Tightening the cord too early stresses the cables, while setting it too loose prevents full containment lockup.
Setting Anchor Consistency with Peep Sights and Kisser Buttons
Mechanical alignment means little if the archer cannot duplicate their anchor point on every single shot. A peep sight mounted inside the bowstring provides the primary rear reference point for your eye, while secondary physical touchpoints reinforce proper bone-to-bone alignment. For archers building a versatile hunting or target setup, combining a peep sight with an archery kisser button offers a dependable dual-reference system that catches subtle grip shifts before you trigger the release.
A kisser button is a small slotted polymer disc that slides onto the bowstring and nests precisely into the corner of your mouth at full draw. To position it correctly, draw the bow with your eyes closed, settle comfortably into your natural skeletal anchor, and have a helper slide the disc along the serving until it rests comfortably in the corner of your lips without pressing into your teeth. Once the location feels entirely natural, tie it in place above and below using strong nylon serving thread.
Adding a secondary tactile reference is particularly valuable in dynamic field environments where awkward shooting angles, heavy clothing, or uneven terrain might tempt you to float your anchor. If the kisser button pulls away from your lip or presses too hard, you instantly recognize that your torso is not bending at the waist or that your head has tilted. This physical awareness prevents torque from creeping into your shot execution.
Reading Arrow Flight with the Paper Tuning Method
Paper tuning is the gold-standard diagnostic tool for identifying initial launch imperfections. By shooting an arrow through a taut sheet of paper positioned roughly five to seven feet in front of your bow shelf, you capture an exact cross-section of how the arrow exits the string. A clean flight pattern produces a tidy bullet hole where the central point hole is surrounded by three or four neat vane cuts with no tearing along the edges.
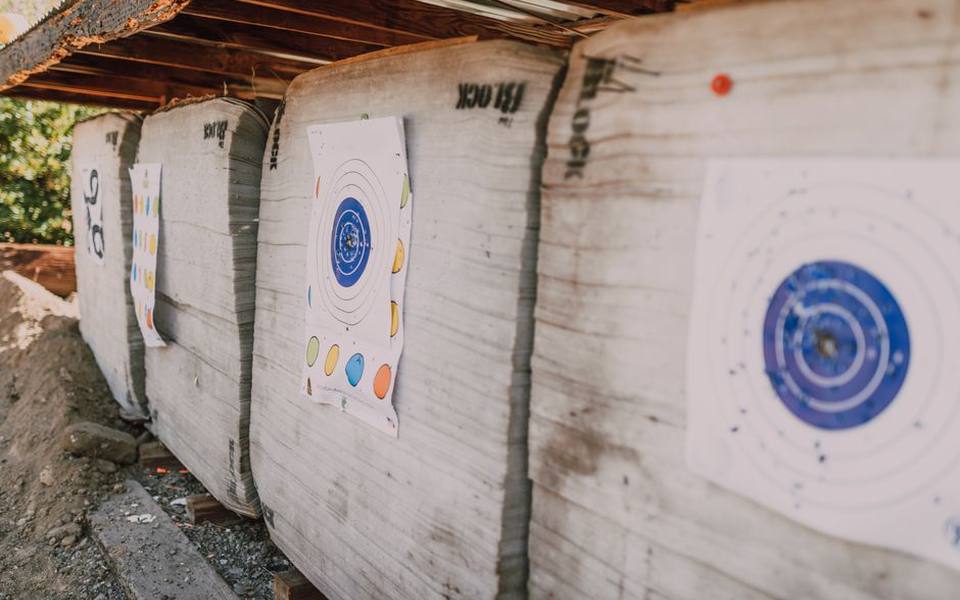
To set up your paper tuning station, build or buy a simple frame that holds butcher paper or freezer paper taut without sagging. Position an arrow-stopping backstop several feet behind the paper frame so the arrow passes cleanly through the paper before the front edge strikes the target. Stand on level ground, draw the bow smoothly without torquing the grip, and execute a surprise release directly through the center of the frame.
If you are practicing paper tuning at an indoor archery range, ensure proper backstop clearance and avoid standing too close to the paper. Shooting from less than four feet can give a false reading because the arrow has not yet reacted to the power stroke, while standing past nine feet allows the fletchings to correct early tears, masking underlying mechanical misalignments that need correction.
Diagnosing Paper Tears and Bare Shaft Dynamics
When an arrow tears paper, the direction of the tear tells you precisely which component requires adjustment. A high tear indicates that the arrow tail is riding high, requiring you to move your nocking point down slightly or raise your arrow rest by small increments. Conversely, a low tear means the tail is dragging, which demands raising the nock point or lowering the rest. Vertical tears should always be corrected before tackling horizontal issues.
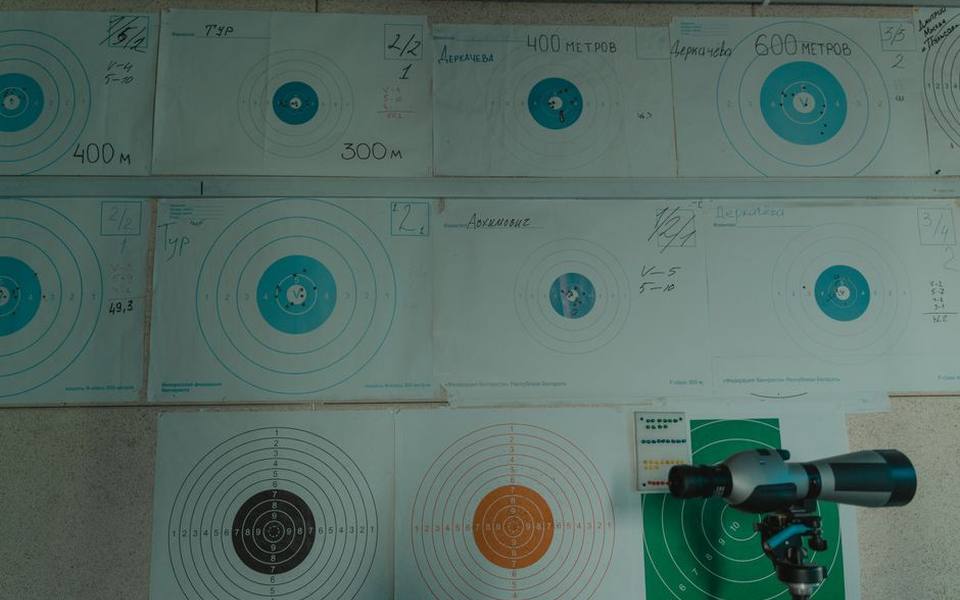
Horizontal tears can be caused by rest alignment, cam lean, or improper arrow spine. A left tear—where the point hole is to the right and the tail tears to the left—typically indicates that the arrow rest needs to be moved slightly to the right toward the riser, or that the arrow spine is overly stiff for a right-handed shooter. A right tear suggests moving the rest away from the riser or stiffening the arrow shaft. Making micro-adjustments in one-sixteenth-inch increments prevents overcorrecting.
Advanced tuners frequently strip the vanes from a shaft to run a bare-shaft paper tune. Because a bare shaft has no aerodynamic fletchings to stabilize it, it reveals the pure mechanical truth of your bow setup. Following a standard bare shaft tuning chart helps you pinpoint whether a stubborn horizontal tear stems from yoke tilt, rest position, or an incompatible arrow stiffness rating that fletched arrows temporarily conceal.
Confirming Horizontal Alignment with Walk-Back Tuning
While paper tuning aligns the arrow at close range, walk-back tuning verifies that your arrow rest center shot is genuinely parallel to your sight pins at variable distances. Small angular errors that appear negligible at six feet compound dramatically as the arrow travels downfield. Walk-back tuning exposes these subtle angles by tracking point-of-impact drift without adjusting your sight windage.
To perform a walk-back test, hang a vertical strip of tape down the center of a tall target face and place a small aiming dot near the top. Step back to twenty yards, set your twenty-yard pin dead center on the dot, and take three shots. Move back to thirty yards, aim the exact same twenty-yard pin at that same top dot, and shoot another group. Repeat the process at thirty-five and forty yards, allowing the arrows to drop naturally down the target face.
Inspect the pattern formed by your arrows from top to bottom. If your arrows drop in a perfectly straight vertical line down the tape, your center shot is true. If the arrows drift progressively to the right as distance increases, your arrow rest is sitting slightly too far to the left, requiring a tiny nudge toward the riser. If they drift left, adjust the rest slightly to the right until the string of arrows drops perfectly straight.
Stringing and Maintaining Recurve Bows Safely
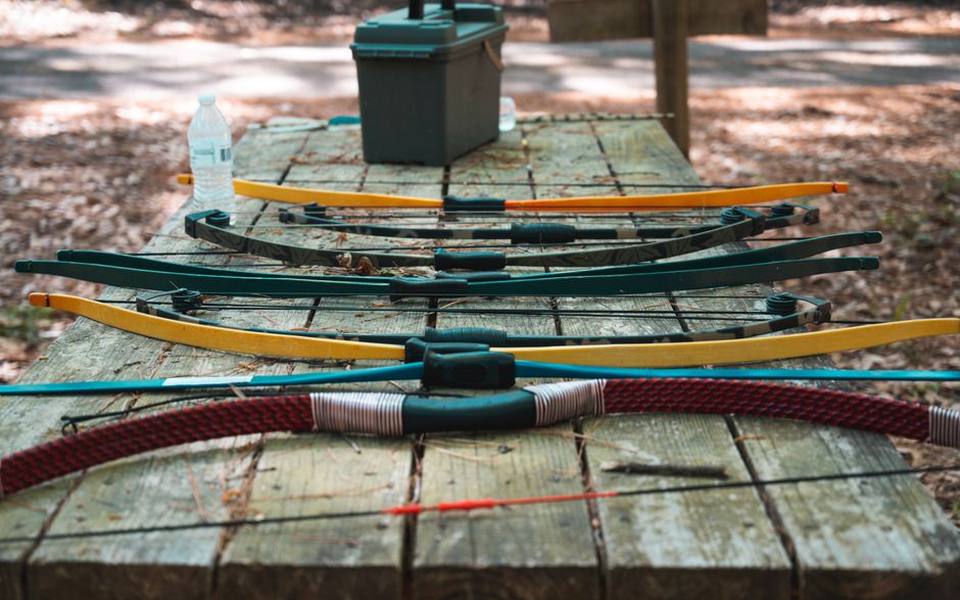
Traditional recurve and longbow setups require a different approach to tuning and routine care. Because traditional bows lack the mechanical pulleys and rigid risers of compounds, string alignment and limb health dictate accuracy. The most critical tool any traditional archer can own is a durable bow stringer tool, which uses leather pockets and friction pads to bend the limbs evenly along their intended curvature during stringing.
Never string a recurve bow by stepping through the limbs or pushing against your knee. These outdated field methods apply rotational torque to the lower limb, causing limb twist that permanently ruins the bow's alignment and makes consistent tuning impossible. By using a proper stringer, you distribute limb tension symmetrically, protect the limb tips from splitting, and protect your face and hands from sudden slip accidents.
Once strung, check your brace height—the distance between the throat of the bow grip and the string—using an archery T-square gauge. You can adjust brace height by unstringing the bow and adding or removing twists from the bowstring. Increasing twists raises the brace height, which stiffens dynamic arrow spine and often quietens string slap, while removing twists lowers it, altering the energy transfer into your bare-shaft setup.
Routine Compound Bow String and Hardware Maintenance
A high-performance compound bow operates under immense tension, making regular inspections essential for safety and reliability. High-friction areas, such as the roller guard, string stop bumper, and cam tracks, experience continuous wear during regular practice sessions. Catching loose screws or frayed strands early prevents catastrophic failures that could damage equipment or cause severe personal injury on the shooting line.
Inspect your bowstrings and control cables before every shooting session. Look closely for broken strands beneath the serving, separating center servings around the nocking point, and fuzzy bare fibers along the main string length. Apply high-grade bowstring wax to the exposed unserved fibers every few weeks, rubbing it vigorously between your thumb and forefinger until the friction melts the wax deep into the bundle to repel moisture and grit.
Check all accessory mounting bolts, including sight screws, rest brackets, and stabilizer mounts, using quality hex wrenches. Vibration from hundreds of releases can gradually back out steel screws from aluminum risers. Applying a tiny drop of low-strength, removable thread locker to non-adjustment screws keeps your complete hunting setup silent and secure during extended trips into the field.
Deciding Between DIY Tuning and Professional Pro Shop Services
Many tuning tasks, such as paper tuning, rest installations, and sight adjustments, are entirely manageable in a home garage with basic tools. Working on your own setup builds deep familiarity with your equipment and gives you the confidence to make quick adjustments in camp. However, certain heavy mechanical operations require specialized commercial equipment that carries a significant safety risk if improvised.
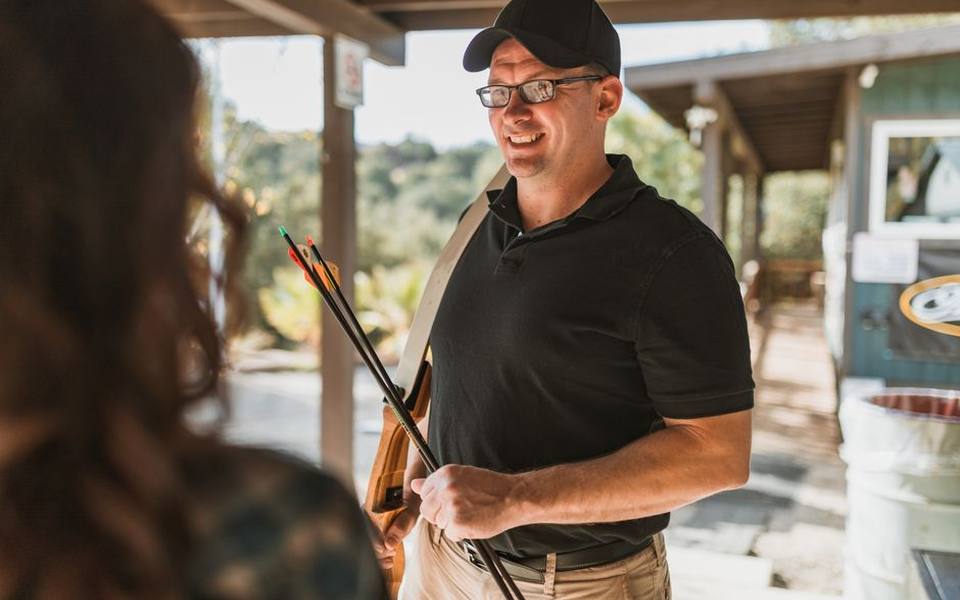
Tasks that involve pressing modern past-parallel compound limbs—such as replacing worn cables, installing internal peep sights, untwisting cam harness legs to fix severe cam lean, or adjusting draw length modules that require string relaxation—are best handled by an experienced archery pro shop. Professional shops maintain commercial bench presses designed to clamp limb tips without voiding factory warranties or cracking composite materials.
Visiting a dedicated bow tuning service is also practical when you encounter persistent tuning anomalies that resist basic rest adjustments. Master technicians have access to specialized draw boards, laser alignment fixtures, and spine testers that can detect subtle limb deflection mismatches, worn cam bearings, or bent axles. If you are new to the sport, taking structured hands-on archery lessons alongside equipment tuning ensures that shooting form inconsistencies are not mistaken for bow defects.
Final Tuning Verification on Realistic Range Targets
Achieving a perfect bullet hole through paper in a controlled indoor room is an outstanding benchmark, but real-world shooting demands final field confirmation. Field points fly with minimal wind resistance, whereas broadheads act like steering rudders on the front of an arrow. Any microscopic center-shot flaw hidden during baseline tuning will manifest as broadhead flight drift at extended distances.
Before your target season or opening day, conduct broadhead tuning by shooting a group of field points alongside fixed-blade heads at thirty yards. If your broadheads group consistently to the left of your field points, nudge your arrow rest an imperceptible hair to the right. Once both broadheads and field points impact together into the same cluster, your bow is delivering absolute energy transfer along the arrow's true center of mass.
Take your newly tuned rig to an outdoor outdoor 3D course to evaluate its performance under realistic shooting conditions. Navigating steep uphill angles, severe downhill shots, and tight shooting lanes tests your kisser button consistency, rest clearance, and sight balance across varying terrain. Putting your equipment through varied field courses ensures that every component performs reliably when the shot counts most.
Published 2026-09-21 · reviewed with each rebuild, last October 2026.
Find archery ranges & sports shops near you
The directory lists 38,975 archery ranges & sports shops by state and city — pick your state or use the “Near me” button in the header.
More guides
-
 Money
MoneyA Guide to Archery Range Fees and Lesson Costs
-
 Buying
Choosing Broadheads and Aiming for the Perfect Shot
-
 Service
DIY Bow Maintenance, Tuning, and Basic Repairs
-
 Buying
Choosing Sights and Rangefinders for Better Accuracy
-
 Buying
Essential Gear for Target Practice and Bowhunting Preparation
-
 Money
MoneyUnderstanding Bow Purchase and Restringing Costs: A Complete Pricing Guide
-
 Owning
Arrow Selection, Cutting, and Fletching at Home: A Complete Guide
-
 Safety
Bowhunting Shot Placement Guide for Deer and Turkey
-
 Buying
Complete Guide to Choosing the Best Crossbow Broadheads
-
 Money
MoneyHow Much Does Archery Cost? A Realistic Beginner Budget
-
 Buying
Choosing the Right Arrows and Field Points: Shaft Materials, Weights, and Tuning
-
 Buying
Best Archery Sets for Beginners: Complete Buyer Guide and Starter Tips
-
 Owning
Best Archery Targets and Backstops: 3D, Foam, Bag, and DIY Setup Guide
-
 Buying
Beginner Archery Buying Guide: Recurve, Compound, and Traditional Bows
-
 Buying
Bowfishing Equipment Guide: Bows, Reels, Arrows, and Rigging Setups
-
 Owning
Lighted Nocks and DIY Arrow Building: Fletching, Cutting, and Tuning
-
 Buying
Crossbow Bolts, Broadheads, and Cocking Devices: Complete Buyer's Guide
-
 Buying
Complete Arrow Selection Guide: Carbon Shafts, Spine, Length, and Brands
-
 Safety
Archery Protective Gear: Arm Guards, Chest Protectors, Tabs, and Slings
-
 Buying
Archery Quivers Buying Guide: Hip, Back, and Bow-Mounted Options
-
 Buying
Bow Release Aids Explained: Wrist Strap, Thumb Button, and Hinge Releases
-
 Owning
Compound Bow Tuning and Care: Strings, Wax, Stabilizers, and Cases
-
 Buying
Arrow Rests Compared: Whisker Biscuit, Cable-Driven, and Limb-Driven
-
 Safety
Archery Lessons, Proper Form, Range Etiquette, and Youth Programs
-
 Owning
Complete Guide to Single Pin Bow Sights and Sight Tapes
-
 Owning
Arrow Selection and DIY Arrow Building: Shafts, Fletching, and Tools
-
 Owning
Finding Archery Ranges, Pro Shops, Clubs, and Instructor Programs
-
 Buying
Best Hunting Broadheads: Fixed Blade vs Mechanical Broadheads
-
 Buying
Archery Targets Guide: 3D Targets, Bags, Blocks, and DIY Backstops
-
 Buying
Archery Quivers Guide: Bow-Mounted, Hip, Back, and Crossbow Quivers
-
 Buying
Bowfishing Gear Guide: Bows, Rigs, Arrows, and Setup Options
-
 Owning
Essential Archery Accessories: Lighted Nocks, Arrow Pullers, and Arm Guards
-
 Buying
Archery Release Aids Guide: Thumb, Hinge, Wrist, and Mechanical Releases
-
 Buying
Essential Bowhunting Gear, Deer Supplies, and Gift Guide
-
 Buying
Crossbow Buying Guide: Matching Platforms, Bolts, Optics, and Fletching
-
 Buying
Beginner Bow & Arrow Starter Kits: How to Choose Your First Setup
-
 Owning
Traditional Archery, Longbows, and Primitive Gear
-
 Buying
Deer Hunting Bows: Comparing Recurve and Compound Setups, Finding Deals, and Studying Hunting Film
-
 Buying
Compound Bow Setup, Tuning, Form, and Equipment Guide
-
 Owning
Compound Bow Release Aids and Grip Tape: Enhancing Control and Consistency
-
 Service
Crossbow Maintenance: String Replacement and Scope Sighting Guide
-
 Owning
Broken Bow Cabin Rentals: Complete Beavers Bend Vacation Guide
-
 Safety
Broken Bow Lake Rentals: Complete Guide to Boats, ATVs, and Trail Gear