The Appeal and Mechanics of Lighted Arrow Nocks
Lighted nocks replace standard plastic rear caps with self-contained illumination units that fire up instantly upon release. For bowhunters and target archers alike, watching a vivid red, green, or strobing tracer path provides immediate feedback on arrow trajectory, wind drift, and exact point of impact. While standard nocks vanish against dim forest canopies or distant target bales, an illuminated tail makes recovering arrows significantly easier in tall grass, heavy brush, or fading evening light.
The internal anatomy of light up arrow nocks generally includes a lithium micro-battery, a small light-emitting diode, and a mechanical or electrical trigger switch built directly inside a tough polycarbonate housing. These components must withstand tremendous g-force upon release, often enduring hundreds of feet per second of acceleration without shattering or misfiring. Because the internal parts are miniaturized, modern illuminated nocks fit standard carbon and micro-diameter shafts with minimal alteration.
Choosing between different styles usually comes down to personal preference for battery longevity, activation reliability, and ease of shutoff. Early lighted models often suffered from unreliable battery life or fragile casings, but modern production standards have made illuminated nocks a dependable component of hunting setups. Still, introducing electronic elements to the rear of your projectile influences overall arrow dynamics, requiring archers to understand how rear mass influences flight stability before building a custom quiver.
Understanding Activation Switches Across Major Designs
Most lighted nocks on the market today rely on one of two primary triggering mechanisms: mechanical piston switches or conductive contact circuits. Mechanical models, such as Nockturnal lighted nocks and similar piston-driven designs, utilize a physical sliding switch located within the throat where the bowstring rests. When the string accelerates the arrow forward during release, string pressure drives the switch backward, completing the internal circuit and igniting the LED instantaneously.

Conductive contact systems, famously seen in Lumenoks and comparable designs, do not use an internal slider switch. Instead, they rely on direct contact between exposed wire leads on the nock body and the electrically conductive carbon fiber wall or aluminum footing of the arrow shaft. When the bowstring pushes the nock forward into tight contact with the squared end of the shaft, the carbon completes the electrical path and powers the light.
Turning these units off requires fundamentally different techniques depending on the switch style. Mechanical slider switches typically require inserting a small blade, field tip, or dedicated tool into an access port to gently pry the switch forward into the off position. Contact-based units simply require wiggling or pulling the nock a fraction of a millimeter away from the cut shaft face to break electrical continuity, making them straightforward to reset while standing at an archery range.
Managing Rear Weight and Front-of-Center Balance
One critical consideration when adding illuminated nocks is their physical mass compared to standard factory nocks. A standard plastic nock typically weighs between 7 and 14 grains, whereas a lighted nock routinely weighs between 20 and 35 grains, depending on the model and internal battery size. Adding 15 to 25 grains directly to the tail of an arrow inevitably alters the projectile's overall balance point and dynamic spine behavior.
This shift in rear weight reduces the arrow's Front of Center (FOC) percentage, which can cause erratic flight if your broadhead or field point is not heavy enough to compensate. Lower FOC often results in slower arrow stabilization out of the bow, making the shaft more sensitive to crosswinds and subtle form errors. Archers who switch from standard nocks to light up arrow nocks without recalculating their setup frequently notice a slight drop in impact height downrange.
To maintain optimal arrow flight, you can either step up your front point weight by adding brass inserts or heavier tips, or you can practice with inert dummy nocks that mirror the exact grain weight of your illuminated components. Many enthusiasts visit a pro shop to spin-test their customized shafts and verify that the extra rear mass has not pushed their arrow spine out of the bow's recommended tune range.
Essential Bench Supplies for Custom Arrow Assembly
Building custom arrows at home gives archers total control over straightness, weight consistency, fletching clearance, and component alignment. Rather than relying on off-the-shelf factory builds that feature standard plastic vanes and median tolerances, DIY arrow assembly lets you tailor every millimeter of the shaft to your specific draw weight, cam system, and shooting style. Getting started requires a dedicated set of arrow building supplies designed for micrometer-level precision.
A well-equipped home workshop should include a specialized high-speed saw, a fletching jig for arrows, an arrow squaring tool, fine-grit abrasive pads, isopropyl alcohol for surface degreasing, and specialized adhesives. While it is tempting to improvise with household tools, arrow materials like high-modulus carbon fiber demand specialized handling to prevent structural delamination and safety hazards. Standard workshop utility knives and hardware glues rarely provide the clean bonds needed for high-speed arrow release.
Beyond cutting and bonding gear, investing in an accurate grain scale and an arrow roller spinner will elevate your assembly process. A spinner reveals runout and wobble in broadheads, inserts, and nocks, ensuring that every completed arrow spins perfectly true before it ever leaves the bow. Gathering these tools provides decades of independence, allowing you to re-fletch damaged vanes or test custom arrow configurations whenever you choose.
Cutting Carbon and Aluminum Shafts with Precision
Trimming raw arrow shafts down to your personal draw length must always be performed with a dedicated arrow cutting machine rather than standard workshop tools. Carbon shafts consist of tightly woven fibers bound by resin, and using rotary saws with toothed blades or hand hacksaws will crush the walls, causing invisible micro-fractures that can fail catastrophically upon release. An authentic arrow cutter uses a high-speed motor running at several thousand RPM paired with a thin, abrasive cut-off wheel.
During the cut, the arrow should be smoothly rotated against the spinning wheel with gentle, steady pressure rather than forced directly through the disc. This rotational technique produces a clean cut without splintering the carbon fibers or leaving ragged carbon burrs. Furthermore, cutting carbon creates microscopic dust particles that irritate respiratory passages, making it essential to operate an arrow cutter equipped with a vacuum attachment or wear a protective dust mask.
Once cut, both ends of the shaft must be trued with an arrow squaring tool before installing inserts or nock bushings. High-speed saw cuts can vary by a fraction of a degree, and an uneven shaft face causes point inserts to seat slightly crooked. Squaring tools use flat abrasive faces or carbide cutters to ensure the edge is dead perpendicular to the carbon centerline, guaranteeing that lighted nocks and broadheads align flawlessly with the shaft axis.
Setting Up and Operating a Fletching Jig
Applying guidance vanes or natural plumage requires a rigid fletching jig for arrows that holds components in stable orientation while the adhesive cures. A quality jig features an adjustable base and a magnetic clamp that accommodates straight, offset, or helical configurations. The indexing receiver at the bottom of the jig rotates the shaft precisely in 120-degree increments for three-vane builds or 90-degree increments for four-fletch builds, ensuring balanced flight dynamics.
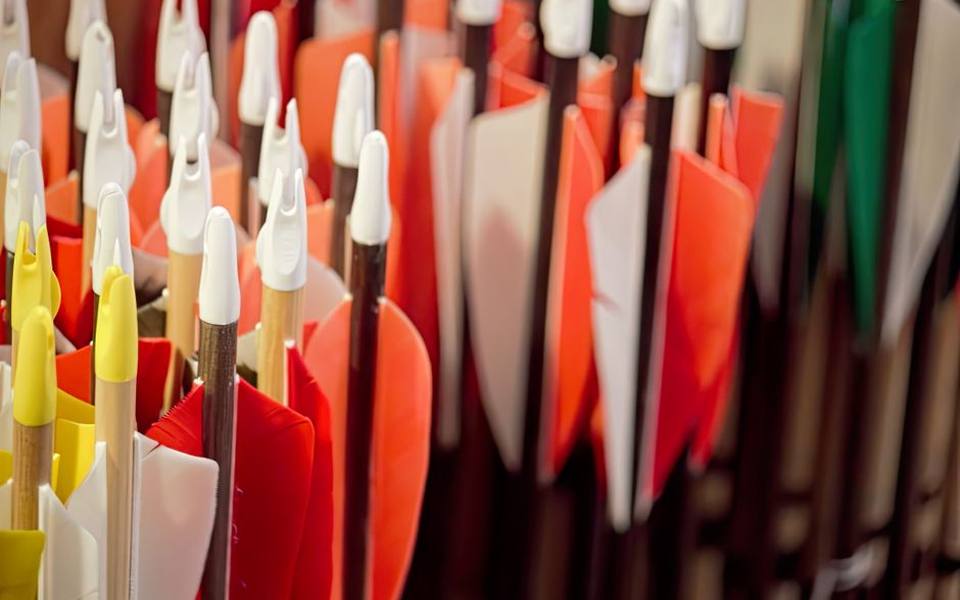
Configuring your vane angle dictates how quickly the arrow spins in flight, which directly influences stabilization. A straight fletch creates minimal aerodynamic drag and high velocity, making it popular for target archery at an indoor range. In contrast, helical clamps twist the vane around the circumference of the shaft, generating rapid rotation that stabilizes large fixed-blade broadheads quickly, albeit with a slight penalty in downrange speed.
Before setting vanes in the clamp, cleanliness is paramount. Wipe the arrow shaft surface with pure isopropyl alcohol or specialized arrow cleaning solutions to eliminate manufacturing oils, dust, and fingerprints. Avoid using standard rubbing alcohols that contain skin moisturizers or scented oils, as even microscopic oil residue will cause fletching adhesive to lift during high-speed flight or cold-weather shooting.
Feather Fletchings Versus Synthetic Polymer Vanes
When designing custom arrows, choosing between traditional natural feathers and modern synthetic vanes depends heavily on your bow style, rest clearance, and shooting environment. An arrow with feathers offers unmatched forgiveness when shot off the shelf of a traditional recurve or longbow. Because natural barbs collapse upon contact with the bow riser and instantly spring back to shape, feathers do not deflect the rear of the arrow as it clears the shelf.
Feathers are also noticeably lighter than synthetic plastic vanes, keeping rear weight low and boosting front-of-center balance. However, natural plumage has distinct drawbacks in damp environments. In wet rain or heavy morning dew, an arrow with feathers can absorb moisture, mat down, and lose its aerodynamic steering capabilities unless treated with water-repellent powders or silicone sprays. Synthetic vanes, by comparison, are completely impervious to water and hold their shape under intense abuse.
Modern compound bow setups that utilize drop-away arrow rests typically favor synthetic low-profile or shield-cut vanes. High-durometer plastics produce less aerodynamic hiss in flight, provide stiff steering control over broadheads, and withstand repeated passage through dense target foam. Choosing between feathers and vanes ultimately hinges on whether your priority is traditional forgiveness and minimal rear mass, or all-weather durability and silent high-speed operation.
Adhesives, Insert Alignment, and Spin Testing
Securing front inserts and half-outs into carbon shafts requires adhesives engineered to handle extreme kinetic deceleration. Fast-curing cyanoacrylates provide quick setting times, making them convenient for rapid assembly, but brittle formulas can shatter under the repeated impacts of target shooting. Two-part impact-resistant epoxies take longer to cure but create a resilient, flexible bond that absorbs shock without fracturing the carbon wall.
Before applying glue, prep the interior of the carbon shaft using a brass bore brush or abrasive pad to remove mold-release agents left over from the manufacturing process. Swab the inside cavity with clean solvent and allow it to dry completely. Apply a light ring of adhesive to the insert, twist it slowly into the shaft to distribute the glue evenly, and immediately wipe away excess bead before the adhesive hardens.
Once the glue cures, mount your points and place the arrow on an arrow spinner to inspect concentricity. Spin the shaft with your fingertips while watching the very tip of the point against a dark background or alignment gauge. If the point wobbles even slightly, the insert is seated crookedly or the shaft face was not squared adequately, which will degrade accuracy downrange at the practice range or field course.
Range Testing and Field Tuning Custom Builds
Once your custom arrows are cut, glued, and fletched, the next critical phase is paper tuning and bare-shaft testing. Visiting a controlled archery facility allows you to evaluate how cleanly the arrow leaves the bowstring. Paper tuning reveals whether your arrow rest, nocking point, or dynamic spine requires adjustment, showing high, low, or lateral tears that indicate arrow oscillation out of the bow.
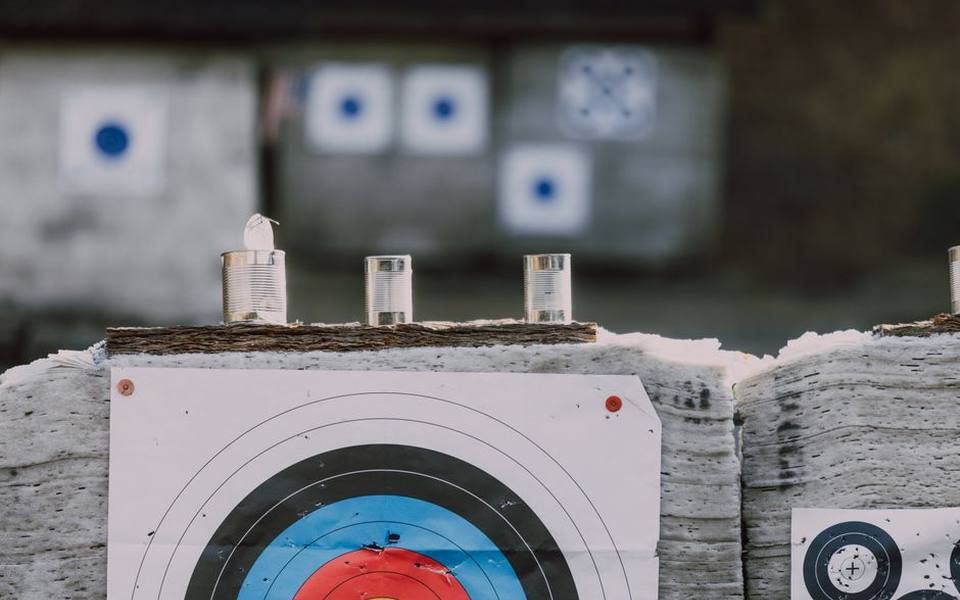
Testing should always be conducted both with standard practice nocks and your chosen illuminated nocks. Because light up arrow nocks add mass to the rear, they subtly stiffen the dynamic reaction of the shaft during launch. If a bare shaft lands consistently to the right or left of your fletched group during walk-back testing, slight adjustments to arrow rest position or point weight can bring everything back into precise alignment.
Field evaluations on a 3D course simulate real-world shooting scenarios over broken terrain and mixed lighting. Shooting through shaded timber lets you verify that your illuminated components activate consistently and remain bright enough to track across long-distance targets. Many archers visiting challenging regional facilities, such as ranges in Wisconsin, rely on custom arrow tuning to ensure consistent arrow flight in dense outdoor timber.
Longevity, Storage, and Battery Care for Illuminated Nocks
To get maximum life out of illuminated nocks, archers should practice preventative maintenance rather than leaving them activated or stored carelessly. Internal micro-batteries typically provide between 20 and 40 hours of continuous illumination, but leaving a nock glowing overnight in a target bag will completely deplete the power cell. Always deactivate the switch immediately after retrieving the arrow from the target bale.
Moisture and dirt are common enemies of electrical contact points. After shooting in wet grass or dusty outdoor terrain, remove the nock from the carbon shaft, wipe the battery casing and switch contacts with a dry microfiber cloth, and inspect the plastic housing for cracks. A cracked nock body can shatter during release, functioning similarly to a dry fire that can damage your bow limbs and cause severe personal injury.
For daily target sessions, swap your expensive illuminated nocks out for practice nocks that carry weighted internal inserts to match their exact gram profile. This preserves battery life for hunting or twilight sessions while saving wear and tear on sensitive electronic switches. Proper seasonal storage in a cool, dry place ensures the batteries retain their charge until the next season begins.
Published 2026-09-21 · reviewed with each rebuild, last October 2026.
Find archery ranges & sports shops near you
The directory lists 38,975 archery ranges & sports shops by state and city — pick your state or use the “Near me” button in the header.
More guides
-
 Money
MoneyA Guide to Archery Range Fees and Lesson Costs
-
 Buying
Choosing Broadheads and Aiming for the Perfect Shot
-
 Service
DIY Bow Maintenance, Tuning, and Basic Repairs
-
 Buying
Choosing Sights and Rangefinders for Better Accuracy
-
 Buying
Essential Gear for Target Practice and Bowhunting Preparation
-
 Money
MoneyUnderstanding Bow Purchase and Restringing Costs: A Complete Pricing Guide
-
 Owning
Arrow Selection, Cutting, and Fletching at Home: A Complete Guide
-
 Safety
Bowhunting Shot Placement Guide for Deer and Turkey
-
 Buying
Complete Guide to Choosing the Best Crossbow Broadheads
-
 Money
MoneyHow Much Does Archery Cost? A Realistic Beginner Budget
-
 Buying
Choosing the Right Arrows and Field Points: Shaft Materials, Weights, and Tuning
-
 Buying
Best Archery Sets for Beginners: Complete Buyer Guide and Starter Tips
-
 Owning
Best Archery Targets and Backstops: 3D, Foam, Bag, and DIY Setup Guide
-
 Buying
Beginner Archery Buying Guide: Recurve, Compound, and Traditional Bows
-
 Buying
Bowfishing Equipment Guide: Bows, Reels, Arrows, and Rigging Setups
-
 Buying
Crossbow Bolts, Broadheads, and Cocking Devices: Complete Buyer's Guide
-
 Buying
Complete Arrow Selection Guide: Carbon Shafts, Spine, Length, and Brands
-
 Safety
Archery Protective Gear: Arm Guards, Chest Protectors, Tabs, and Slings
-
 Buying
Archery Quivers Buying Guide: Hip, Back, and Bow-Mounted Options
-
 Buying
Bow Release Aids Explained: Wrist Strap, Thumb Button, and Hinge Releases
-
 Owning
Compound Bow Tuning and Care: Strings, Wax, Stabilizers, and Cases
-
 Buying
Arrow Rests Compared: Whisker Biscuit, Cable-Driven, and Limb-Driven
-
 Safety
Archery Lessons, Proper Form, Range Etiquette, and Youth Programs
-
 Owning
Complete Guide to Single Pin Bow Sights and Sight Tapes
-
 Owning
Arrow Selection and DIY Arrow Building: Shafts, Fletching, and Tools
-
 Owning
Finding Archery Ranges, Pro Shops, Clubs, and Instructor Programs
-
 Buying
Best Hunting Broadheads: Fixed Blade vs Mechanical Broadheads
-
 Buying
Archery Targets Guide: 3D Targets, Bags, Blocks, and DIY Backstops
-
 Buying
Archery Quivers Guide: Bow-Mounted, Hip, Back, and Crossbow Quivers
-
 Service
Bow Tuning and Setup: Paper Tuning, Arrow Rests, and Bow Maintenance
-
 Buying
Bowfishing Gear Guide: Bows, Rigs, Arrows, and Setup Options
-
 Owning
Essential Archery Accessories: Lighted Nocks, Arrow Pullers, and Arm Guards
-
 Buying
Archery Release Aids Guide: Thumb, Hinge, Wrist, and Mechanical Releases
-
 Buying
Essential Bowhunting Gear, Deer Supplies, and Gift Guide
-
 Buying
Crossbow Buying Guide: Matching Platforms, Bolts, Optics, and Fletching
-
 Buying
Beginner Bow & Arrow Starter Kits: How to Choose Your First Setup
-
 Owning
Traditional Archery, Longbows, and Primitive Gear
-
 Buying
Deer Hunting Bows: Comparing Recurve and Compound Setups, Finding Deals, and Studying Hunting Film
-
 Buying
Compound Bow Setup, Tuning, Form, and Equipment Guide
-
 Owning
Compound Bow Release Aids and Grip Tape: Enhancing Control and Consistency
-
 Service
Crossbow Maintenance: String Replacement and Scope Sighting Guide
-
 Owning
Broken Bow Cabin Rentals: Complete Beavers Bend Vacation Guide
-
 Safety
Broken Bow Lake Rentals: Complete Guide to Boats, ATVs, and Trail Gear