Recognizing when your crossbow string requires replacement
A crossbow string endures hundreds of pounds of continuous tension alongside violent friction during release, meaning routine inspection is essential for shooter safety. Most manufacturers recommend replacing strings and cables every two to three years, or roughly every one hundred to two hundred shots, whichever comes first. Visible signs of critical wear include broken strands beneath the wax, fuzzing along the main body, or separation in the center serving where the trigger latch catches. If the serving begins to unwrap, the bare synthetic fibers underneath take direct impact from the latch fingers, which can lead to sudden, catastrophic string failure.
Beyond physical fraying, aging strings experience irreversible elongation, often referred to as creep. As materials stretch over time, the cam timing on compound models gradually drifts out of synchronization, causing the bow to lose draw weight and projectile velocity. Recurve crossbows demonstrate stretch through reduced brace height, where the string rests noticeably closer to the riser than factory specifications allow. When you notice that your arrow velocity drops significantly or your group size expands without an obvious explanation, stretched rigging is frequently the underlying culprit.
Regular tactile checks should become part of your normal shooting routine before cocking the bow. Run clean fingers along the length of the string, checking for dry spots, flattened areas, or internal lumps that indicate broken core strands. If you shoot frequently in wet or dusty field conditions, grit can penetrate the fibers, accelerating internal abrasion long before external damage becomes obvious. Whenever doubt arises regarding the structural integrity of your rigging, retiring the string immediately is far safer and less expensive than risking a dry-fire equivalent failure.
Handling limb tension and specialized press requirements
Replacing the rigging on a modern compound crossbow requires safely compressing high-draw limbs that often exert between one hundred fifty and two hundred fifty pounds of stored kinetic energy. Attempting to compress these short, high-stress limbs with standard vertical bow presses or makeshift automotive tools can bend axles, splinter composite limbs, or cause severe physical injury. Only limb presses specifically engineered and rated for narrow, parallel-limb crossbows should ever be used. Recurve crossbows, by contrast, generally allow safe manual re-stringing through the use of an external cable stringer that relieves tension across the limb tips.
Before applying any mechanical pressure, inspect the press contact fingers to confirm they mate flush against the limb surfaces without contacting the cams, cables, or tracking grooves. Pressure must be applied smoothly and symmetrically, compressing the limbs only far enough to slip the string loops off the cam posts. Over-pressing is a frequent mistake that can crack the limb belly or permanently warp the riser. If your specific model utilizes reverse-draw geometry, the compression points are inverted, demanding explicit adherence to the press manufacturer's dedicated attachment protocols.
Many owners who lack access to a certified heavy-duty press prefer taking their equipment to experienced technicians at local archery pro shops where technicians handle high-tension rigs daily. Certified technicians possess the manufacturer-approved adapter brackets designed for ultra-narrow axle-to-axle designs. Handing off this particular maintenance step guarantees that the delicate balance between the cams, bearings, and limb pockets remains protected while eliminating personal exposure to extreme mechanical energy under compression.
Step-by-step cable and string replacement procedure
Begin the installation process by documenting the exact routing of your factory cables and string. Take high-resolution photographs of both cams from multiple angles, paying close attention to how the harness cables cross inside the center rail slot and attach to individual posts. If your crossbow features dual let-off cams, note whether the left cable crosses over or under the right cable within the cable slide. Failing to replicate this exact crossing orientation will cause severe cam lean, severe cable rub, and erratic bolt flight.
With the bow secured in the press and compressed just enough to generate slack, remove the old primary string first, followed by the secondary harness cables. Clean the cable slide channel along the bottom of the flight deck with a clean lint-free cloth, removing old grease, dust, and wax residue. Slide the new cables into position, seating their looped ends securely over the internal cam posts, and ensure they lay smoothly into the cam grooves without twists. Verify that the cable slide is oriented in the correct direction before reinserting it into the barrel track.
Install the new main shooting string by looping it over the primary cam posts, double-checking that the center serving aligns precisely with the centerline of the barrel. As you slowly relax the press tension, watch the string and cables continuously to ensure every loop remains fully seated on its designated post. A slipped loop that snaps under returning tension will instantly shear posts or crack limbs. Once full resting tension is restored, inspect the entire assembly from behind to confirm that the rigging sits evenly in all operational tracks.
Verifying axle-to-axle measurements and cam timing
After installing fresh rigging, you must measure the axle-to-axle distance across the limbs to verify that the system matches the manufacturer's factory specifications. Measure using a rigid steel tape measure from the exact center of one cam axle across to the center of the opposite axle while the bow rests uncocked. If the measurement is slightly wider than the specified factory tolerance, the new string and cables have not settled or need additional twists. Conversely, if the distance is too short, the cables are over-twisted, placing excessive preload on the limbs.
Cam synchronization, commonly called cam timing, directly governs whether both limbs release their energy simultaneously. Most modern compound cams have engraved timing marks, dots, or small inspection holes that must align symmetrically with the cable tracks when the bow is at rest. If one cam sits rotated further forward than its counterpart, one limb will deliver power faster than the other, resulting in severe vertical string wobble and poor arrow flight. Correcting this requires pressing the bow again and adding or removing half-twists from the appropriate cable yoke.
New synthetic materials typically experience a brief break-in period during the first twenty to thirty cycles of cocking and firing. During this initial run, check the axle-to-axle width and cam marks every ten shots, as small amounts of fiber settling are completely normal. Rechecking these dimensions ensures your baseline setup remains perfectly square before you begin sighting in your optics, saving you significant time and ammunition at the target range.
Applying rail lubricant and serving protective wax
Proper lubrication is critical to protect your new investment from premature thermal breakdown caused by heavy friction along the flight rail. Apply high-grade archery string wax to the exposed, non-served synthetic fibers of the main string and buss cables, rubbing it briskly between your thumb and index finger. The heat generated by your skin melts the wax, driving it deep into the internal fiber bundle to keep moisture out and prevent internal fraying. Wipe away any excess wax with a clean cloth to prevent grit and field debris from sticking to the lines.
The center serving, which rides directly against the aluminum or composite barrel, requires a dedicated fluid lubricant rather than thick wax. Thick waxes attract grit and can migrate backward into the internal trigger housing, gumming up the delicate sear springs and latch mechanisms over time. Instead, apply one to two drops of specialized liquid rail lube along the flight deck every fifteen to twenty shots, spreading it evenly along the surface with a finger. The rail should feel slick to the touch, but never wet or saturated.
Pay special attention to the underside of the rail where the plastic or Teflon cable slide travels back and forth. A dry cable slide creates chatter and excessive friction, which can chew through the serving on your buss cables in fewer than fifty shots. A light film of rail lube placed inside the cable track keeps the slide running smoothly without leaving heavy residues that collect dirt during outdoor practice sessions.
Mounting the scope and eliminating canting errors
Sighting in starts with establishing a rock-solid, level optical platform mounted to the receiver's Picatinny or Weaver rail. Loosen the cross-bolts on your scope rings and position the optic far enough forward to ensure generous eye relief when your cheek rests naturally on the comb. Crossbows generate a sharp, forward-recoil impulse that can cause improperly secured scopes to slip or rotate inside their rings over time. Clean all mounting threads with isopropyl alcohol and secure the ring bases to the receiver rail, tightening hardware to the manufacturer's recommended torque settings.
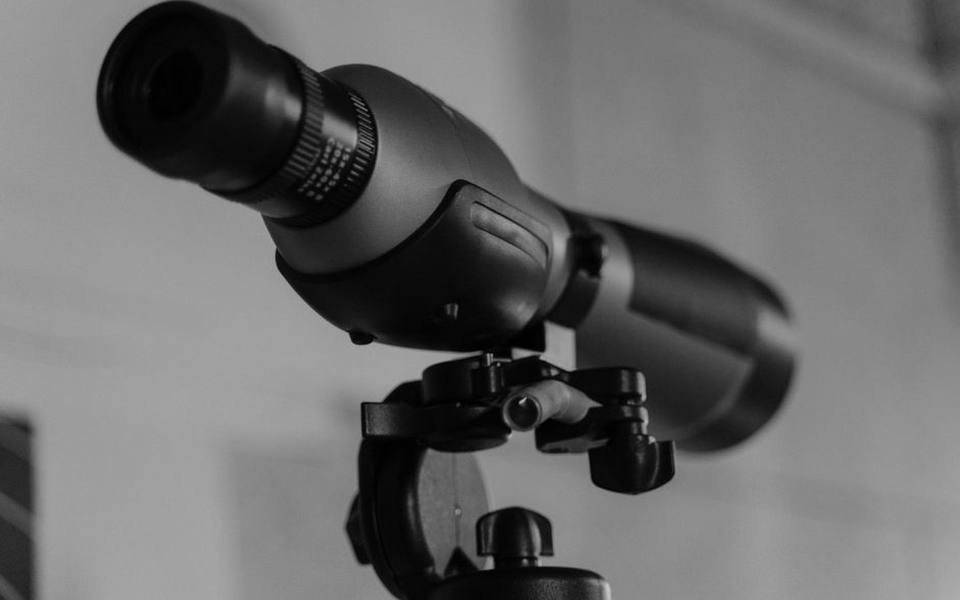
Scope canting, the act of unintentionally tilting the crosshairs slightly left or right, causes substantial lateral misses that worsen as shooting distances increase. To square the optic, place a small bubble level across the flat section of the crossbow rail and adjust the unit until the bubble sits dead center. Next, place a matching leveling tool on the scope's elevation turret cap or view a plumb line hung downrange through the ocular lens. Rotate the scope body slowly within the loose rings until the reticle's vertical wire matches the plumb line perfectly before tightening the ring caps down evenly.
Tighten the ring screws incrementally in a crisscross pattern, checking the level frequently to ensure the torque does not twist the tube. If one side of a ring is clamped completely tight while the opposite side retains a gap, the uneven clamping force can pinch the internal erector tube, preventing the elevation and windage turrets from tracking accurately. Once secured, shoulder the bow with your eyes closed, open them, and confirm that you instantly obtain a full, shadow-free sight picture without straining your neck.
Establishing the initial close-range zero on the target
Before setting up targets at extended distances, begin sighting your crossbow at a short distance of ten or twenty yards. Shooting at a close distance ensures that initial mechanical misalignment will not result in a missed target bag, lost carbon bolts, or damaged vanes. Eliminate human movement by resting the crossbow securely in a shooting bench vise or across stable front and rear sandbags. Consistent shoulder pressure and steady cheek weld are critical when establishing a baseline zero.
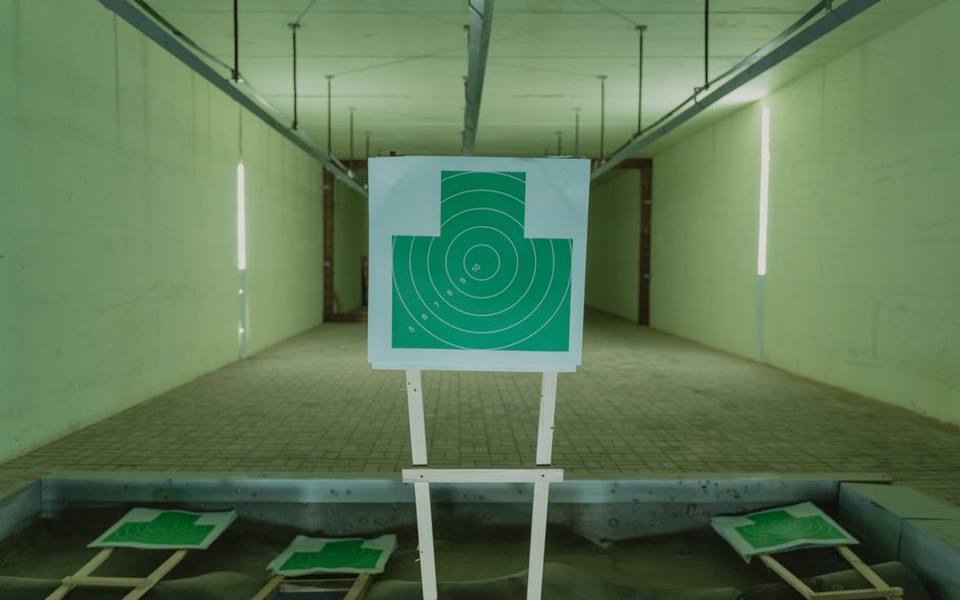
Many target shooters utilize controlled environments like indoor archery ranges to eliminate the erratic variables of wind gusts and changing natural shadows during initial sight-in. Fire a preliminary shot aiming directly at the center bullseye, using a brand-new, straight carbon bolt equipped with a target field point that matches the weight of your intended broadhead. Inspect where the bolt strikes relative to your point of aim. If the bolt strikes low and left, you must adjust the elevation turret upward and the windage turret to the right.
Crossbow scope turrets generally adjust in clicks representing fractional minutes of angle, typically one-quarter or one-half inch per click at one hundred yards. At a distance of twenty yards, each click moves point of impact by an extremely small amount, so you may need several dozen positive clicks to shift the impact point by two or three inches. Fire a follow-up shot after making your initial adjustment, verify the correction, and adjust again until two consecutive bolts hit within the target dot.
Calibrating reticle speed rings for stepped distances
Modern multi-reticle crossbow scopes often incorporate an integrated speed-calibration ring that matches reticle subtensions to the exact velocity of your arrow. Because an arrow drops exponentially as it loses speed downrange, scopes use multiple horizontal crosshairs or dots calibrated for progressive ten-yard intervals, typically spanning twenty to sixty yards. If your scope includes a speed ring, begin by setting the collar to the velocity specified in your crossbow's owner manual for your specific bolt weight.
After confirming your twenty-yard primary crosshair is centered, step back to thirty or forty yards and aim using the corresponding secondary reticle mark. Fire a shot into a clean target dot from a steady rest. If the bolt impacts noticeably lower than the aiming mark, your projectile is traveling slower than the speed dial indicates, meaning you must turn the speed collar slightly down to widen the spacing between reticle hashes. If the bolt impacts high, turn the dial to a higher velocity marking to compress the reticle spacing.
Spend time testing these drop lines on realistic targets, such as those found at outdoor 3D archery courses, where varied distances challenge your sight picture under practical field conditions. Once the speed collar is dialed to your bow's unique trajectory, verify the accuracy of every single reticle mark out to your maximum comfortable range. Mark the dial setting with a tiny dab of paint or write it down so you can immediately spot if the selector ring shifts accidentally during transport.
Diagnosing bolt grouping problems and flyer arrows
If you encounter persistent grouping issues where bolts impact erratically despite a tight scope mount and fresh string, evaluate your arrow components. Crossbow bolts launch with severe acceleration that exaggerates any slight imperfection in straightness, vane adhesion, or insert alignment. Number your bolts individually near the fletching with a fine marker and shoot them in sequence. If four bolts cluster tightly together while bolt number five consistently lands three inches away, set that outlier aside for closer inspection rather than moving your scope turrets.
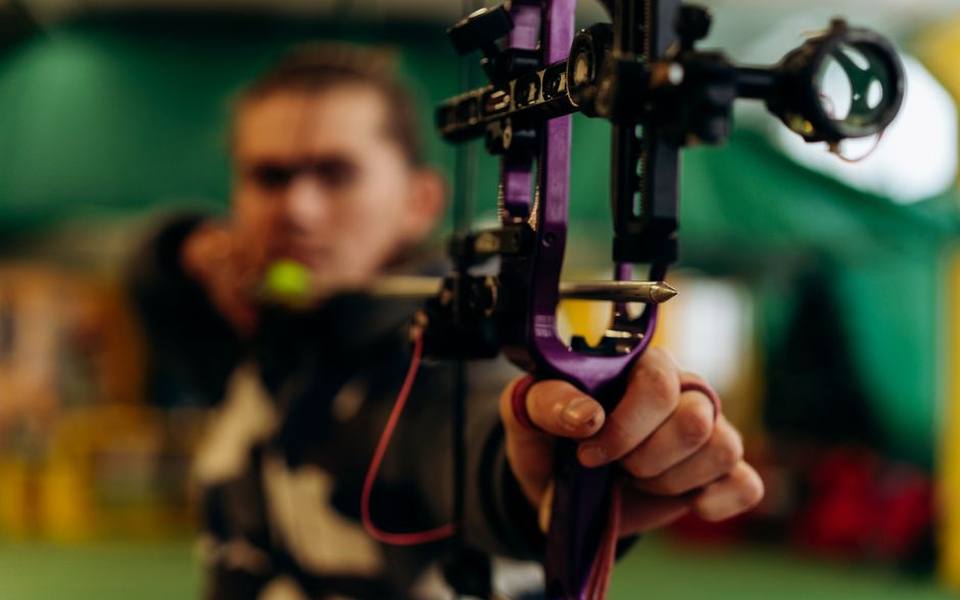
Check that the cock vane is oriented correctly into the barrel track on every shot to ensure proper vane clearance through the receiver. If a hen vane brushes against the rail channel or scope bridge, the arrow will kick sideways upon launch, producing erratic downrange patterns. In addition, inspect your nocks for micro-cracks or burrs, particularly if you shoot tight target groups where incoming bolts might glance off arrows already resting in the bag. Using an illuminated nock during late dusk practice helps you track arrow flight arcs and identify wobbles visually.
Shooter mechanics also play a major role in shot dispersion; jerking the trigger or anticipating the mechanical release creates lateral flyers on target. Seeking advice or taking structured guidance through coaches offering archery lessons can assist you in refining trigger press and consistent follow-through. Maintaining your head position against the stock until the bolt impacts the target prevents the common habit of dropping the bow arm during firing.
Seasonal maintenance routines and offseason storage rules
Environmental changes between warm summer practice sessions and cold autumn mornings can subtly alter limb flex and bolt trajectory. Extreme temperature drops increase limb stiffness slightly while making dampening rubbers firmer, which can elevate arrow velocity or slightly alter elevation zero. Always verify your twenty-yard and forty-yard zero under the ambient temperature conditions in which you intend to shoot. A quick five-shot confirmation before opening day provides peace of mind that thermal contraction has not shifted your group center.
When preparing to store your crossbow during the offseason, choose a temperature-controlled, dry room away from direct sunlight, furnaces, or high humidity. Storing a high-tension rig in hot attics or damp basements degrades synthetic string fibers and can weaken limb laminations. Never hang the crossbow by its stirrup in a manner that puts lateral pressure on the cams or axles. Instead, store it flat in a rigid padded case or hang it horizontally supported across both structural limb pockets on secure wall brackets.
Before boxing the gear up for months of downtime, clean the track thoroughly and apply a generous coat of wax to all accessible rigging fibers. Do not leave the trigger mechanism cocked under tension for long periods, as prolonged spring fatigue will ruin trigger sears and internal safety interlocks. When unpacking the equipment next season, conduct a full visual audit from axle to buttstock, confirming that all ring screws, riser bolts, and quiver attachments remain snug before your first target session.
Published 2026-09-21 · reviewed with each rebuild, last October 2026.
Find archery ranges & sports shops near you
The directory lists 38,975 archery ranges & sports shops by state and city — pick your state or use the “Near me” button in the header.
More guides
-
 Money
MoneyA Guide to Archery Range Fees and Lesson Costs
-
 Buying
Choosing Broadheads and Aiming for the Perfect Shot
-
 Service
DIY Bow Maintenance, Tuning, and Basic Repairs
-
 Buying
Choosing Sights and Rangefinders for Better Accuracy
-
 Buying
Essential Gear for Target Practice and Bowhunting Preparation
-
 Money
MoneyUnderstanding Bow Purchase and Restringing Costs: A Complete Pricing Guide
-
 Owning
Arrow Selection, Cutting, and Fletching at Home: A Complete Guide
-
 Safety
Bowhunting Shot Placement Guide for Deer and Turkey
-
 Buying
Complete Guide to Choosing the Best Crossbow Broadheads
-
 Money
MoneyHow Much Does Archery Cost? A Realistic Beginner Budget
-
 Buying
Choosing the Right Arrows and Field Points: Shaft Materials, Weights, and Tuning
-
 Buying
Best Archery Sets for Beginners: Complete Buyer Guide and Starter Tips
-
 Owning
Best Archery Targets and Backstops: 3D, Foam, Bag, and DIY Setup Guide
-
 Buying
Beginner Archery Buying Guide: Recurve, Compound, and Traditional Bows
-
 Buying
Bowfishing Equipment Guide: Bows, Reels, Arrows, and Rigging Setups
-
 Owning
Lighted Nocks and DIY Arrow Building: Fletching, Cutting, and Tuning
-
 Buying
Crossbow Bolts, Broadheads, and Cocking Devices: Complete Buyer's Guide
-
 Buying
Complete Arrow Selection Guide: Carbon Shafts, Spine, Length, and Brands
-
 Safety
Archery Protective Gear: Arm Guards, Chest Protectors, Tabs, and Slings
-
 Buying
Archery Quivers Buying Guide: Hip, Back, and Bow-Mounted Options
-
 Buying
Bow Release Aids Explained: Wrist Strap, Thumb Button, and Hinge Releases
-
 Owning
Compound Bow Tuning and Care: Strings, Wax, Stabilizers, and Cases
-
 Buying
Arrow Rests Compared: Whisker Biscuit, Cable-Driven, and Limb-Driven
-
 Safety
Archery Lessons, Proper Form, Range Etiquette, and Youth Programs
-
 Owning
Complete Guide to Single Pin Bow Sights and Sight Tapes
-
 Owning
Arrow Selection and DIY Arrow Building: Shafts, Fletching, and Tools
-
 Owning
Finding Archery Ranges, Pro Shops, Clubs, and Instructor Programs
-
 Buying
Best Hunting Broadheads: Fixed Blade vs Mechanical Broadheads
-
 Buying
Archery Targets Guide: 3D Targets, Bags, Blocks, and DIY Backstops
-
 Buying
Archery Quivers Guide: Bow-Mounted, Hip, Back, and Crossbow Quivers
-
 Service
Bow Tuning and Setup: Paper Tuning, Arrow Rests, and Bow Maintenance
-
 Buying
Bowfishing Gear Guide: Bows, Rigs, Arrows, and Setup Options
-
 Owning
Essential Archery Accessories: Lighted Nocks, Arrow Pullers, and Arm Guards
-
 Buying
Archery Release Aids Guide: Thumb, Hinge, Wrist, and Mechanical Releases
-
 Buying
Essential Bowhunting Gear, Deer Supplies, and Gift Guide
-
 Buying
Crossbow Buying Guide: Matching Platforms, Bolts, Optics, and Fletching
-
 Buying
Beginner Bow & Arrow Starter Kits: How to Choose Your First Setup
-
 Owning
Traditional Archery, Longbows, and Primitive Gear
-
 Buying
Deer Hunting Bows: Comparing Recurve and Compound Setups, Finding Deals, and Studying Hunting Film
-
 Buying
Compound Bow Setup, Tuning, Form, and Equipment Guide
-
 Owning
Compound Bow Release Aids and Grip Tape: Enhancing Control and Consistency
-
 Owning
Broken Bow Cabin Rentals: Complete Beavers Bend Vacation Guide
-
 Safety
Broken Bow Lake Rentals: Complete Guide to Boats, ATVs, and Trail Gear